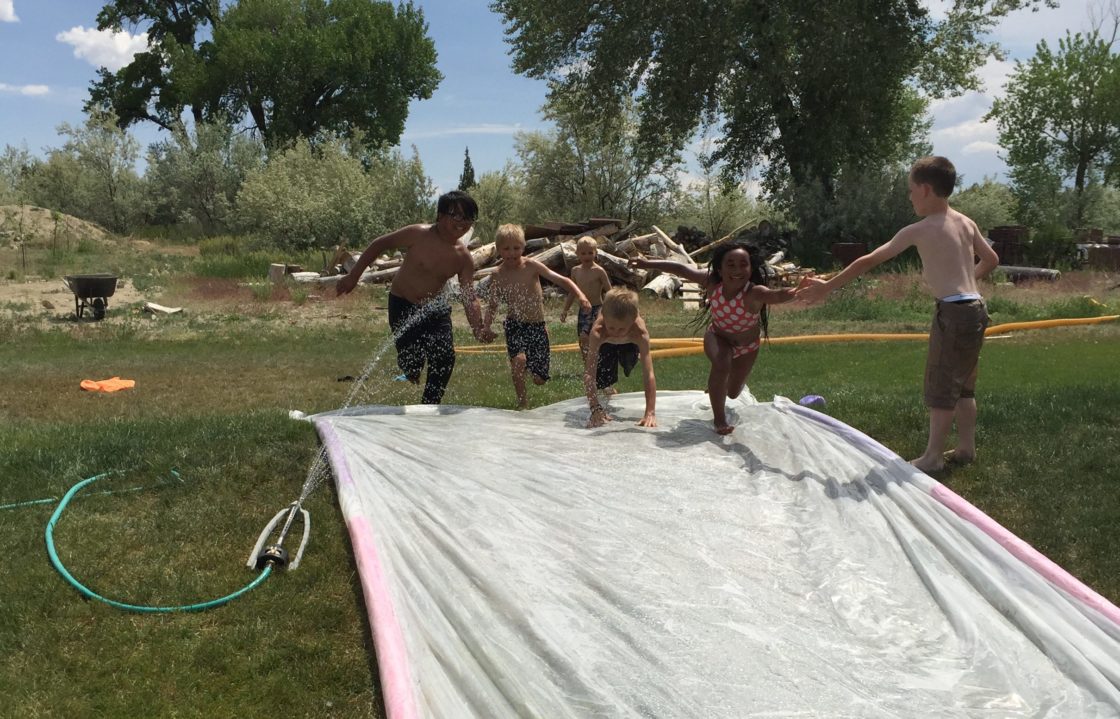
This slip and slide is seriously the greatest! I have a love/hate relationship with slip n slides. The ones from the store look great, but they break so easily. You end up buying one every year. The blow ups on them are cute…….but lets face it, they are annoying to have to deflate and blow up again each time you pull it out! My kids have so much fun with this one and SOOOOOOO many kids have gone down it! We have a bunch of kids over and they all have a blast! Its wide enough for 3-4 people to go down. It is made with 2 layers of plastic so it makes it stronger and we are still using it!
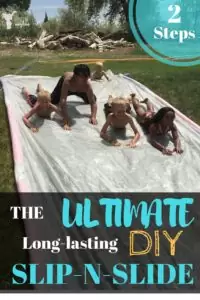 This is what you need!
- Poly Sheeting plastic 4 Mil or 6 Mil
- Pool Noodles or Pipe Insulators
- Hot glue gun and Glue sticks
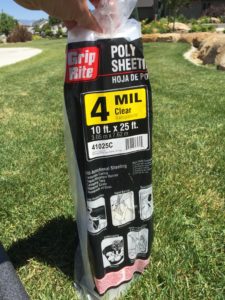
Poly Sheeting like this one on Amazon. You can get this at any Home Depot store, or online. Depending on how long you want your slide will depend on what you need to buy, my first slide I bought 10′ x 100′. This one is 4 MIL and 10’x25′. The higher the Mil number the thicker the plastic.
What makes this slide so durable is I double up the plastic, so get double the length that you are planning on. There are some poly sheeting that is 20′ wide, so you can just fold it in half so your slide is 10′ wide. Check our your local store and see what they have and the best prices.
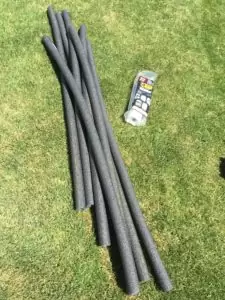
Next buy pool noodles or pipe insulators. The pipe insulators are sometimes cheaper. You can get a pack of 4 for $4.99 here. Get however many you need for the length of your slide. Plan on leaving 12 inches in between each noodle on your slide.
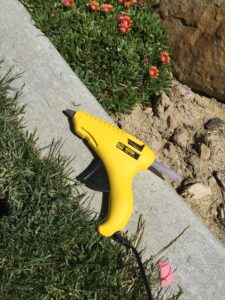
A bigger glue gun is easier to use with the amount of glue you use. Any kind will work like this one.
NOW HERE ARE THE 2 EASY STEPS!
STEP #1
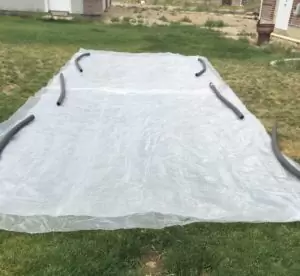
Lay out 2 layers of plastic on top of each other, with the noodles on the sides. This particular one I am making is for water slide bowling, so it is a only 20′ long. For a slip n slide on a hill you will want to do it longer like 30′-40′ long.
STEP #2
Roll the noodles up on one side and leave a 12 inch space in between each one. This will help storing it easier when you want to fold it up. Roll the noodles up in the plastic a couple rolls and begin hot gluing it. Be careful not to touch your glue gun tip on the plastic or it will melt it.
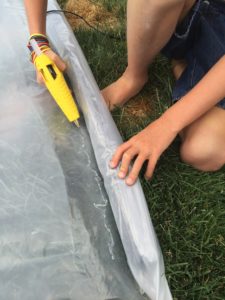
If you want, you can roll it one more time and glue it again to make sure it doesn’t come undone. I did it twice and I have never had ours come undone. Last year we had a small tear from a shorts button. With the double layer of plastic you can patch this really easy. Get a patch piece of plastic. Place it between the layers of plastic where the hole is and hot glue it shut. Be careful not to apply too much glue. To much glue will make it hard and hurt when your kids go down the slide. You can also just turn the slide over when you get too many patches on one side. I have only had to patch one hole, and A LOT of kids have used this slide!
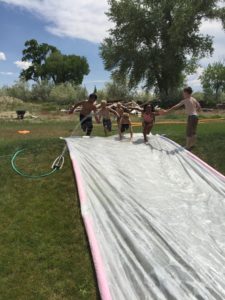
To store it, roll it up and fold it in between the pool noodles. Nice and easy.
FUN TIPS
To make it really slick add baby shampoo to it, your kids will get a bath in the process. You can get that here.
Fill the slide full of water balloons, or just balloons. It’s a great sensory activity for the kids!
Another fun way to change things up is to do Water Slide bowling.
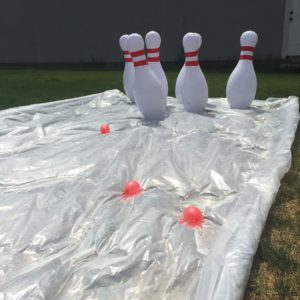
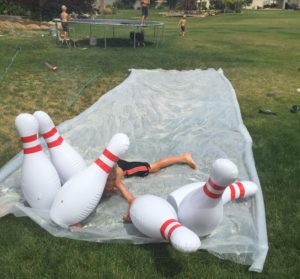
You can buy these inflatable bowling pins here. The trick with these pins is that they fall over really easy with the slightest breeze. We fixed this problem by putting water in the bottom of them to make them heavier. You will need a little straw or we used this attachment for blowing up water balloons. This works really good and you can do multiple at once. When your done just squirt the water out and you are good to go again.
Super easy and HOURS of FUN!!!
ENJOY!

2 thoughts on “The ULTIMATE, Long-Lasting, DIY SLIP-N-SLIDE in just 2 Steps!”
Comments are closed.