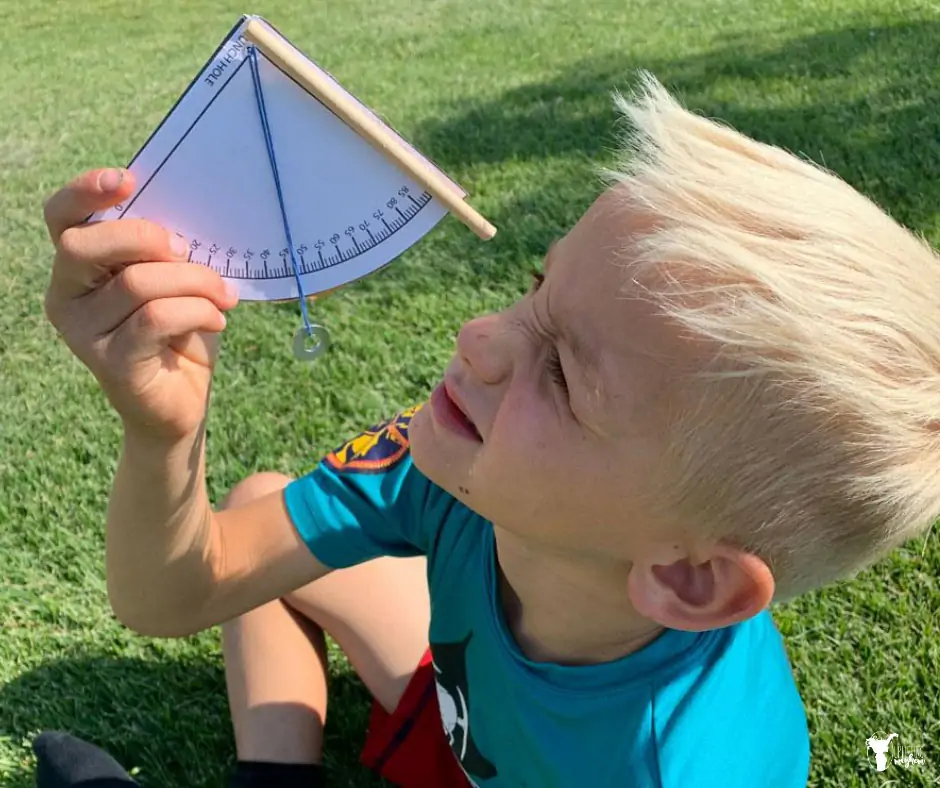
As we have been studying early explorers, we kept asking the question, “How did Christopher Columbus or Leif the Lucky know where they were sailing?” After some research, we discovered the tool they used. That tool is called a quadrant or an astrolabe. This post is all about what a quadrant is and how to make your own quadrant used for early navigation.
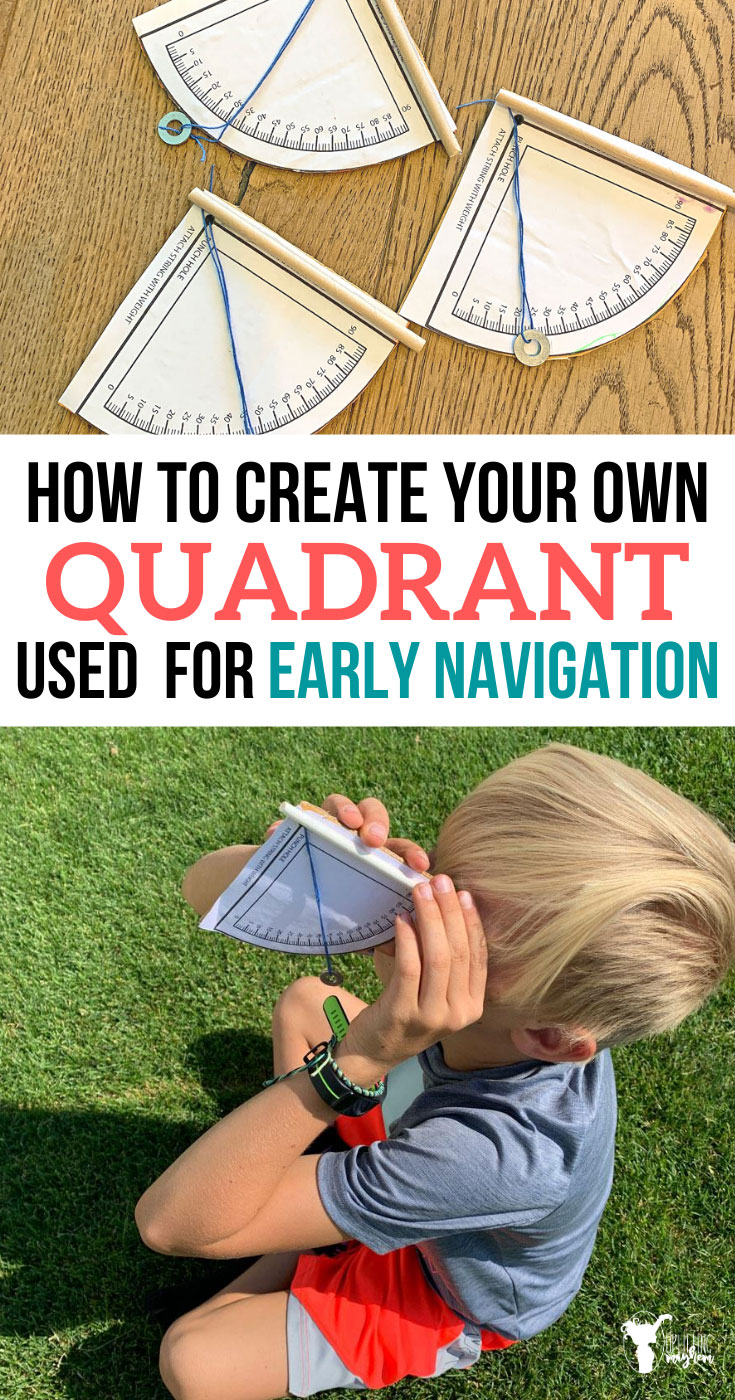
This activity would fall under Month 1 of the Well Educated Heart Rotation. You can learn all about the Well Educated Heart and the teaching philosophy here.
What is a quadrant?
A quadrant was used by sailers to help them know how far away from the equator they were. The North Star is one star that is almost true north and doesn’t move throughout the year. This star became the constant for sailors to navigate. Using a quadrant, they would aim the North Star in the sites of the quadrant. The angle the weight and string fell on would determine how far away they were from the equator.
Pretty amazing huh?!?
You can also use a quadrant to discover the height of an object. We went outside and measured the height of something that we could measure and also something that was extremely tall (we did this so we could see if we really were doing it right! :)) To do this, you lay on your back and aim your straw to the very tip of the object you are determining the height.
Math Concepts
This activity was fun because you can apply many different subjects while doing this activity. When you have a right triangle (90 degrees) and the other two angles are 45 degrees, this makes it so that the two sides are also equal. So, to discover the height of an object, you need to find the distance of the bottom line. Once you do that, you can determine the height.
When you lay on your back and aim the straw at the tip of the object, you want your string to hit 45 degrees. Once you get that angle, you can then measure the distance from that point on the ground to the base of the object.
Pretty cool huh! My boys thought this was fascinating as did I. They had fun building their own quadrant. It was so easy and you probably already have all of the materials to make your own quadrant used for early navigation.
Items you need to make your own quadrant used for early navigation.
- Cardboard or heavy paper
- One Straw – We use these straws for everything!
- A cut out copy of a quadrant – Quadrant Printable
- String
- Washer
- Hot glue gun
- Glue stick
- Nail
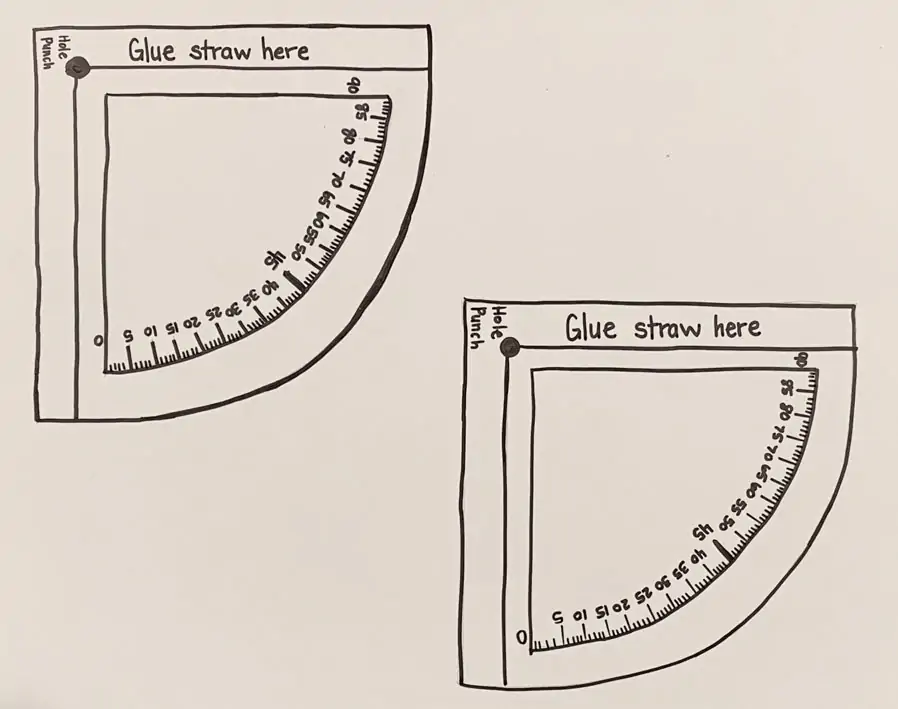
Step #1 – Print and cut out this Quadrant Printable or create your own.
Creating your own with your kids will provide a great teaching moment on angles and how a protractor works. However, if you have younger kids or kids who aren’t interested in that, I drew one for you that you can just print out.
Step #2 – Using a glue stick, glue the quadrant onto some cardboard or heavy paper.
We used cardboard to make it a little more heavy duty and it worked great!
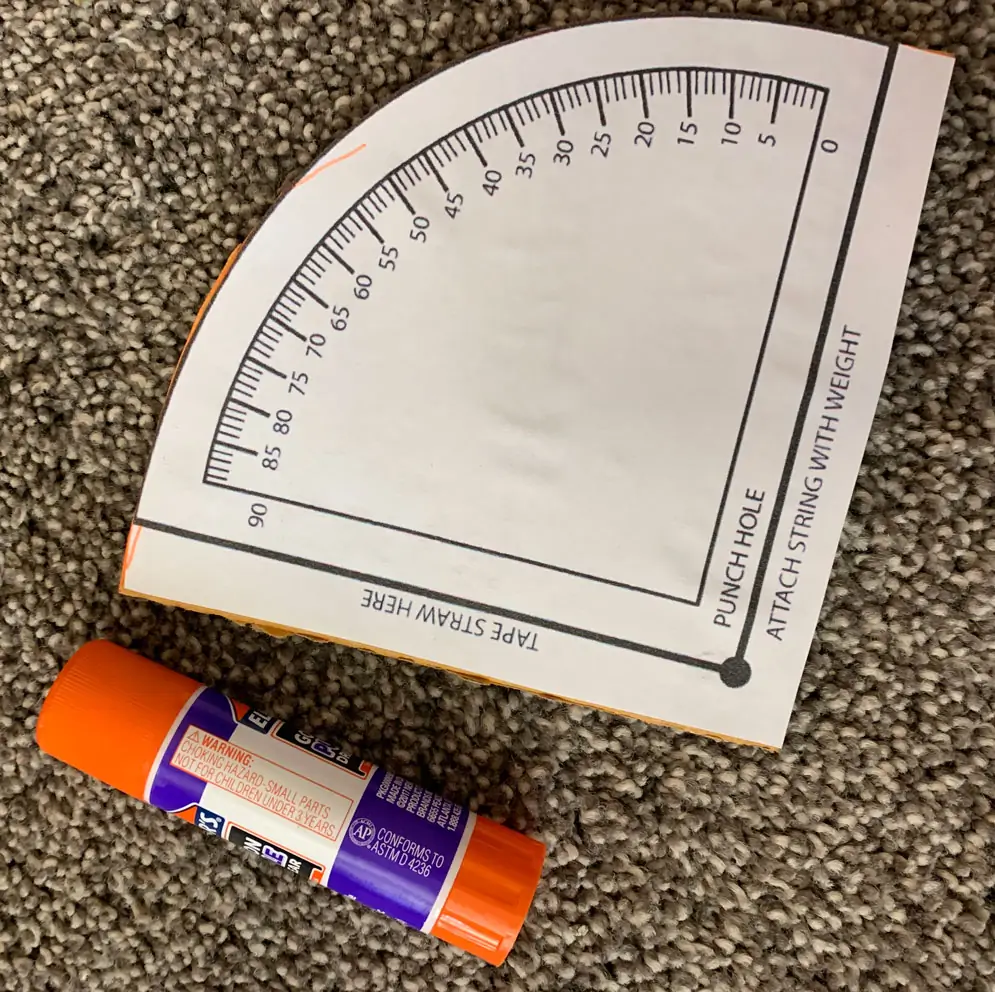
Step #3 – Using a nail, poke a hole through the paper and cardboard where hole punch is labeled.
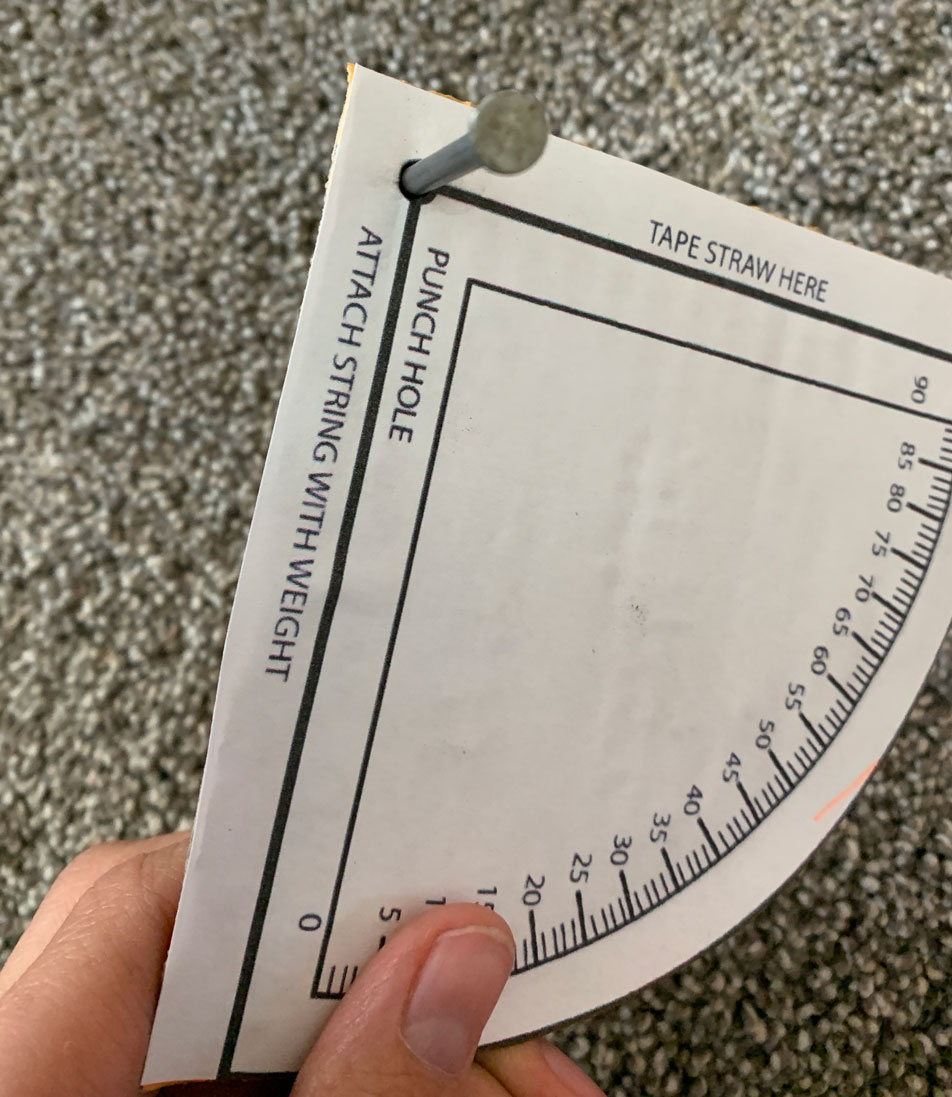
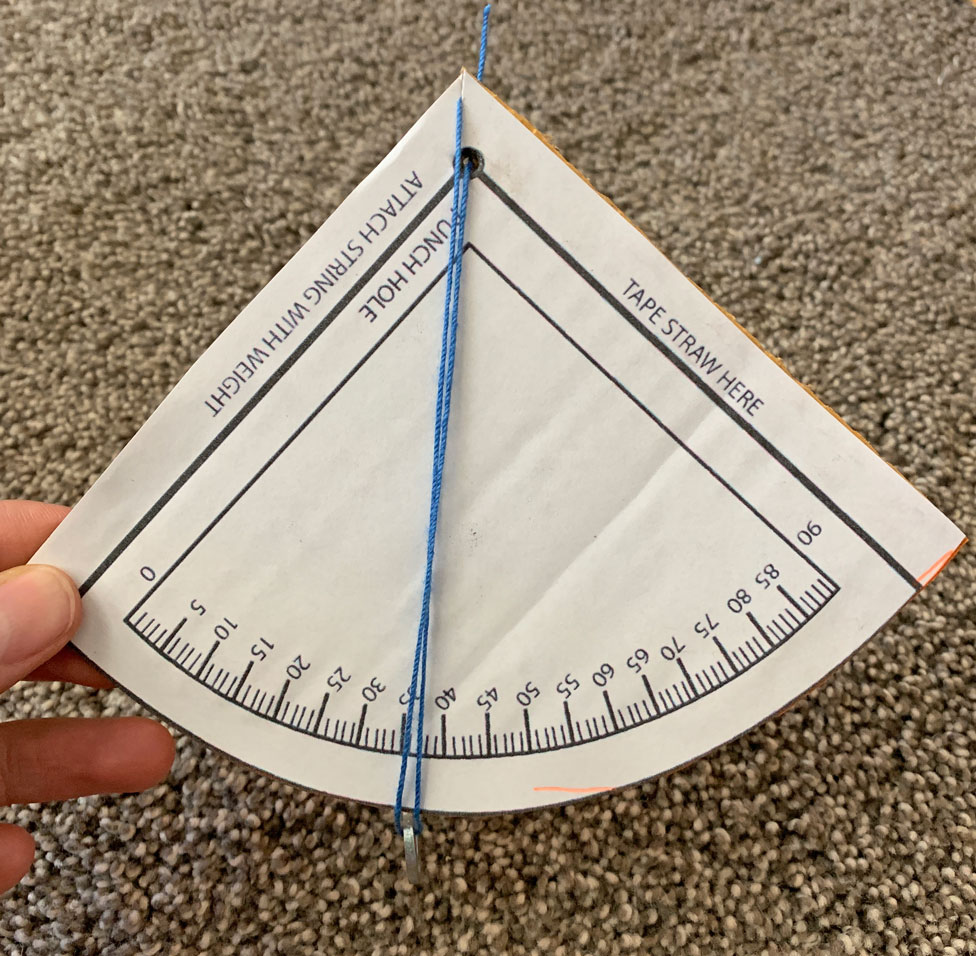
Step #4 – Attach your string to the quadrant on one end and attach the washer to the other end.
The string needs to be long enough to go passed the numbers on the quadrant. Five inches of string should be enough.
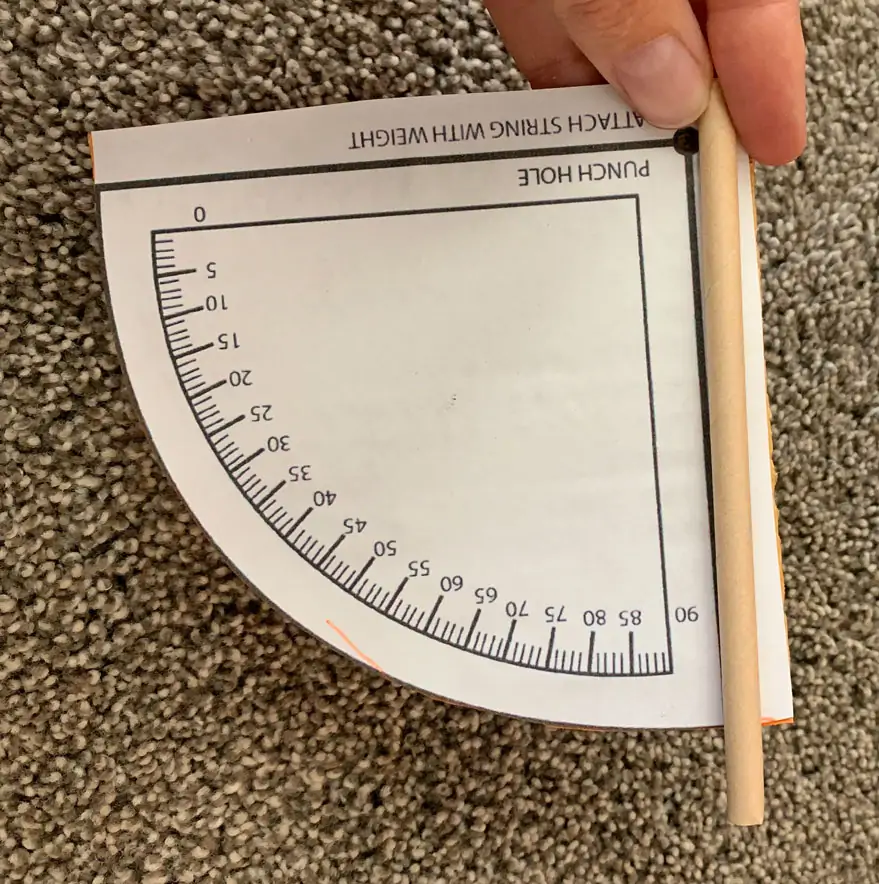
Step #5 – Next, glue your straw to the part that says, Glue straw here.
You will need to trim your straw down so it isn’t so long. I made mine an inch longer that the width of the quadrant.
THAT IS IT!!
Now you are ready to use your quadrant used for early navigation! It is a pretty fun tool. You could take it with you on hikes or find out what angle your string falls on and you spot the north star. Doing activities like this bring history to life. Information and knowledge is so powerful, but if you don’t touch the heart that knowledge won’t make an impression in the minds of your children.
