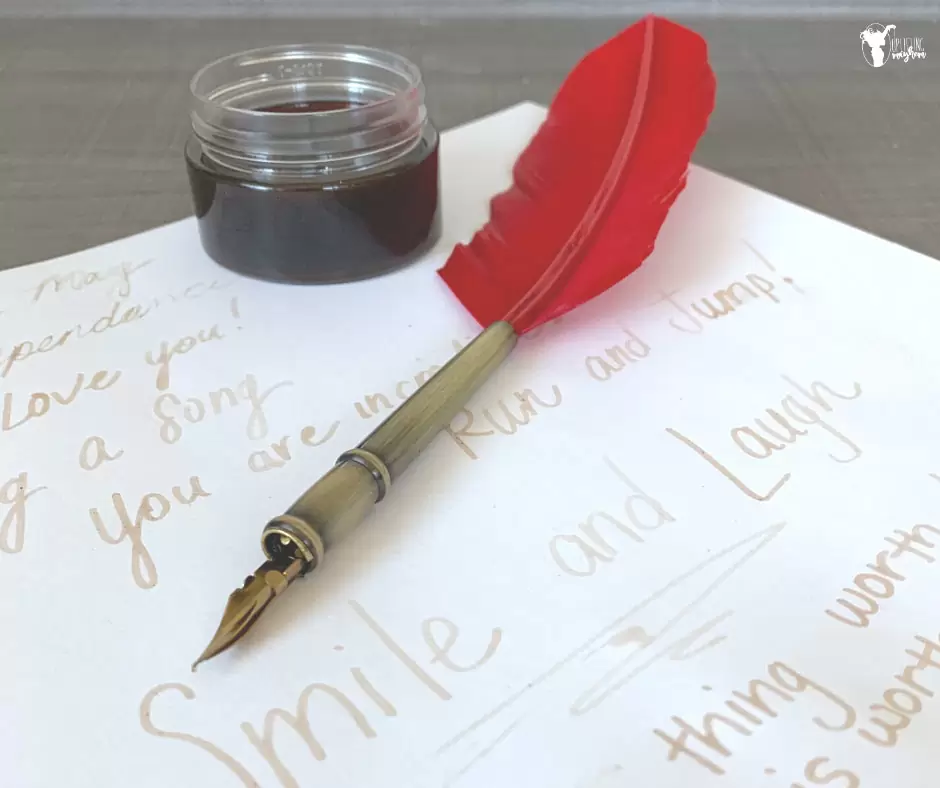
Have you ever thought to make your own ink? I never did until I started homeschooling my boys. We found a couple different methods that involved eels, and crushing up different colored rocks. Since eels aren’t a common fish we catch here up in the mountains (HA HA) our option was colored rocks. We just never got around to it. Even though we still may try crushing up rocks to make ink, we came across a simpler method that works.
If you follow the Well Educated Heart rotation, we used this as we talked about Americas independence and the making of The Declaration of Independence. This is something you can use throughout the entire year for poetry tea time, copy work and stories!
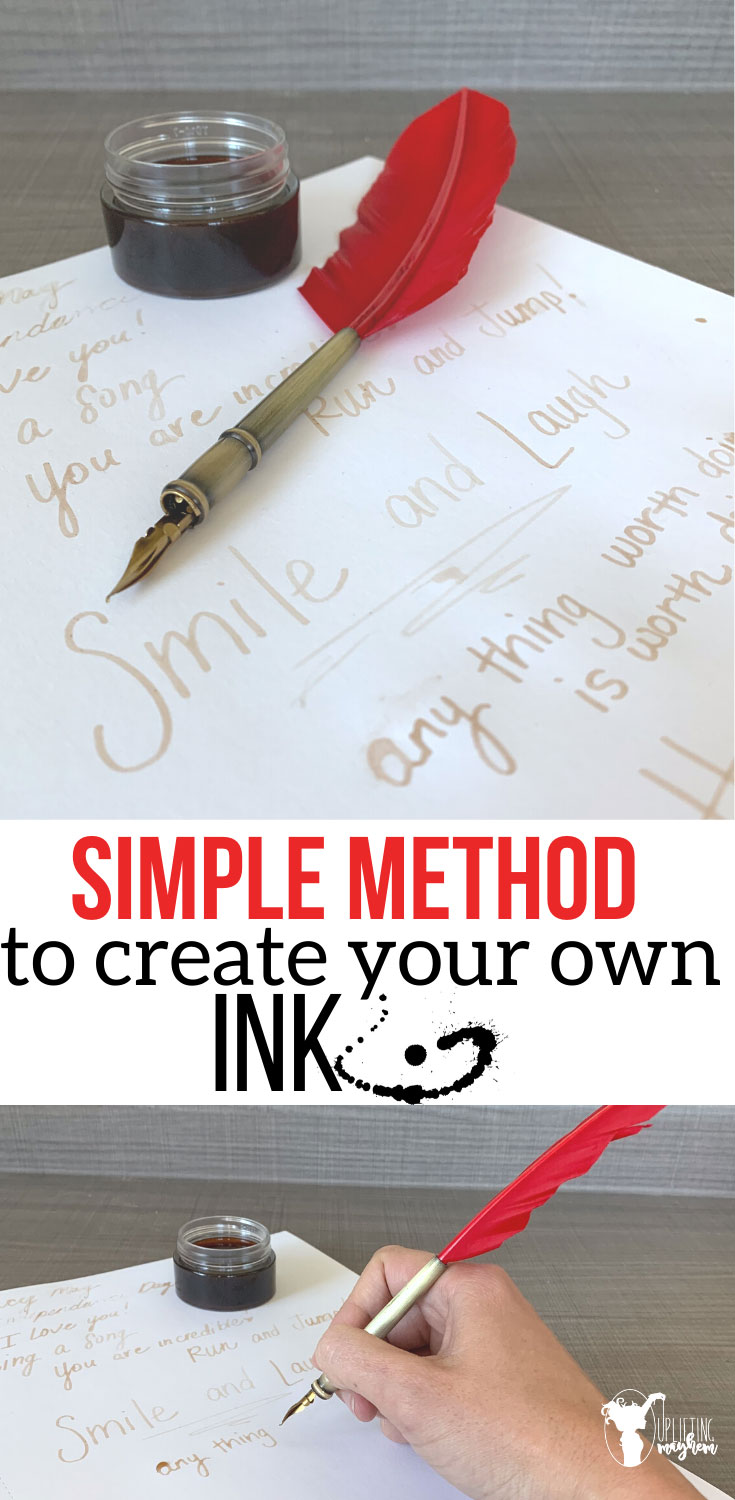
My boys have really enjoyed writing with their homemade ink and it also helps them appreciate modern pens and pencils. You can have your kids use this ink to practice their spelling words or any of these great fun spelling ideas. It also mixes things up for different writing projects that you may do in your home. We love it and keep the ink in a mason jar and pull it out every so often.
We found this method in a book we are loving right now. This book is called Isaac Newton and Physics for Kids. There are are bunch of different activities throughout it that we have loved doing along with learning more of Sir Isaac Newton.
Here is how to make your own ink, and write with it
What you will need
- 12 Walnuts (the book calls for walnuts, we tried pecans too and the pecans worked better and worked fabulously)
- Saucepan
- Strainer
- Shallow Container with lid
- 1/4 tsp vinegar
- Old Sock
- Hammer
- Empty mechanical pencil OR if you want to get fancy you can buy old fashioned calligraphy tips that are fun
Step #1 – Crack open the walnuts or pecans
Crack open the walnuts or pecans and remove the nut. You can eat them now or freeze them for when you want to add them to a recipe. The walnuts were really old so I don’t think they worked as well as if they were fresh.
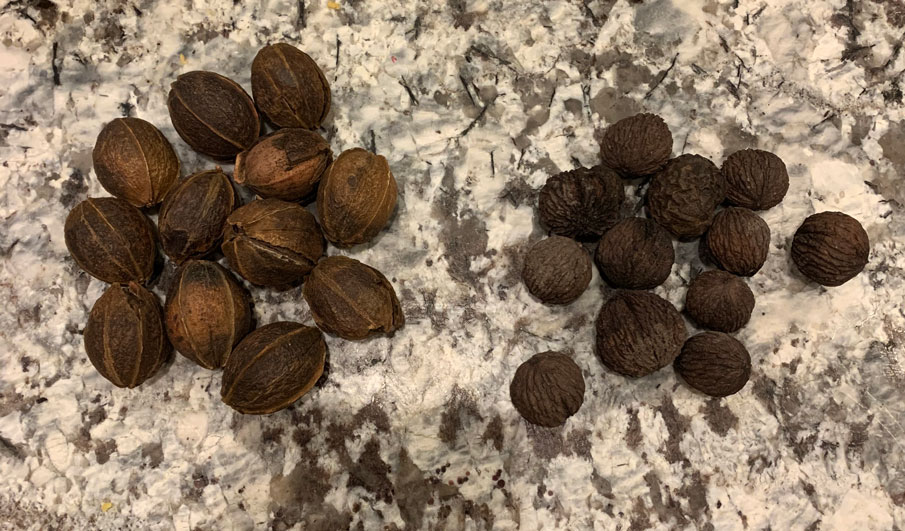
Step #2 – Put the shells in the toe of an old sock
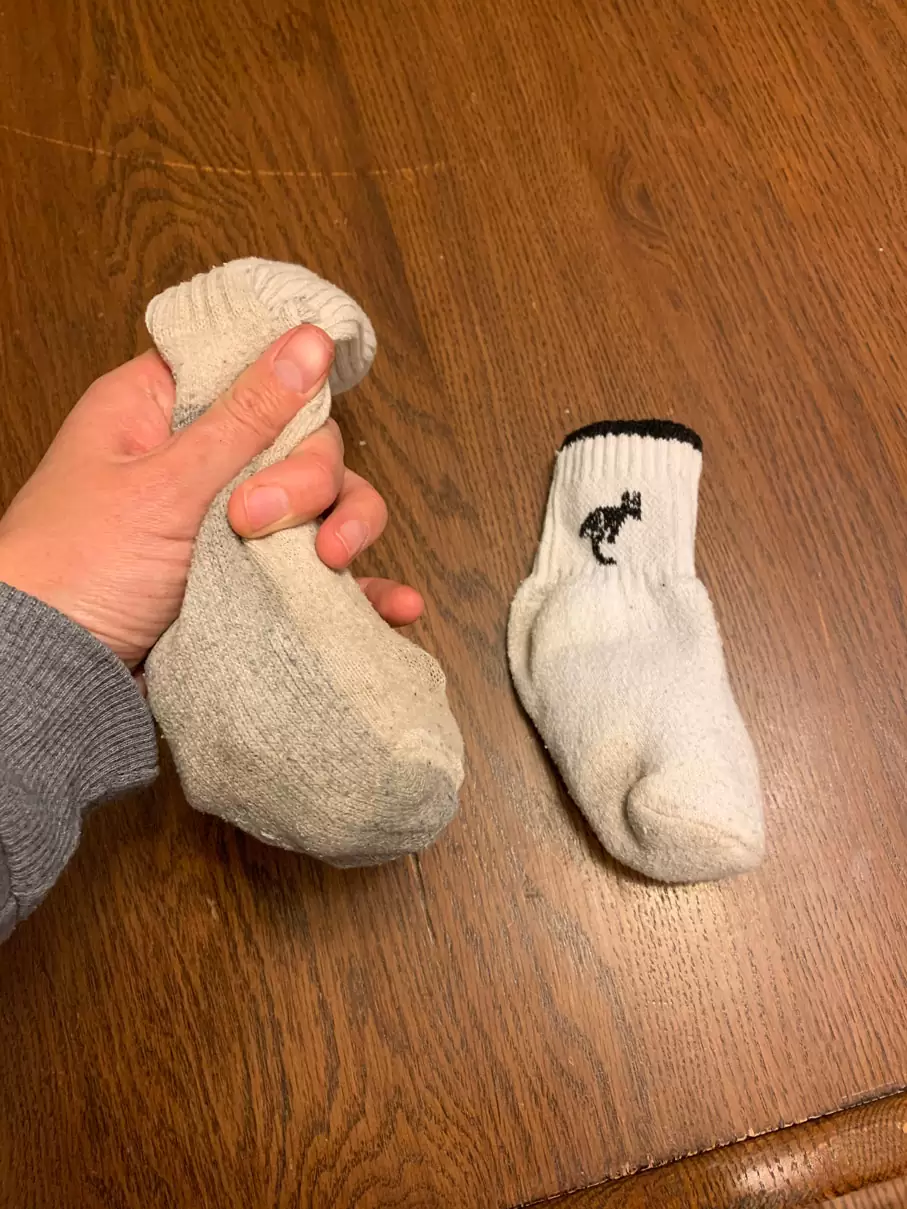
Step #3 – Smash the shells with a hammer
I took my sock outside and smashed it against our concrete. You can use a cutting board or the ground outside. Don’t do it on your tile or countertop. We don’t want those to have cracks in them :).
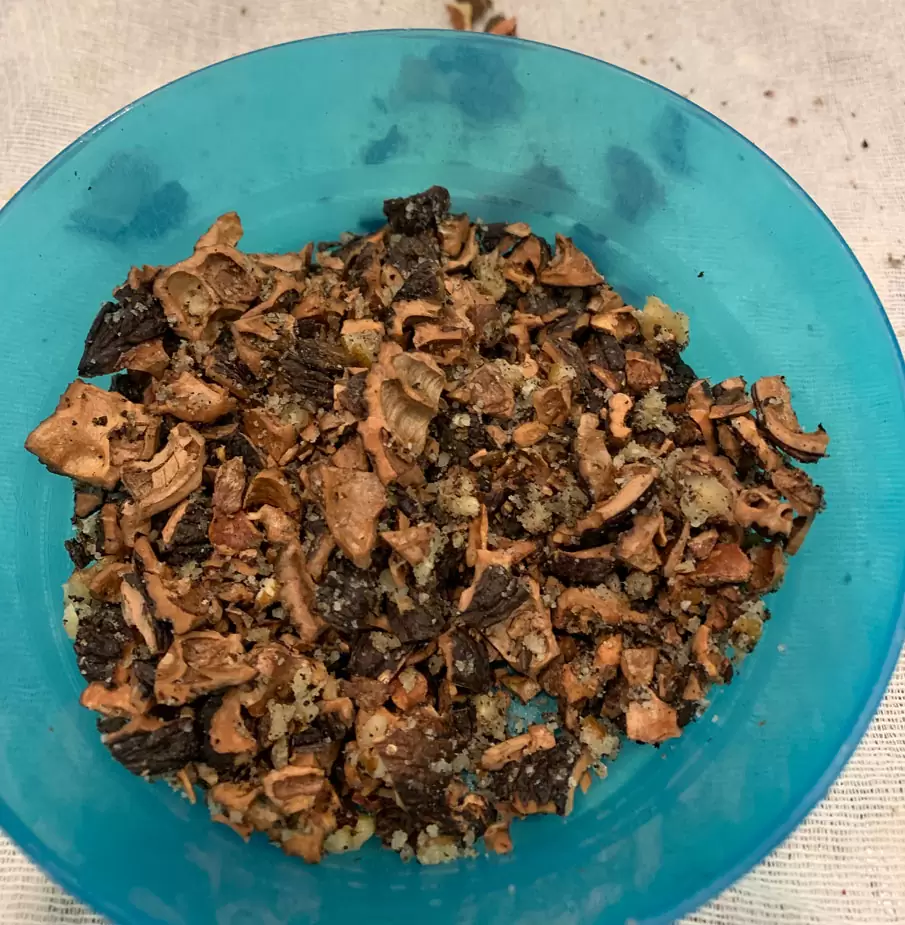
Step #4 – Place the shells in the saucepan and barely cover them with water.
During this step, we kept the shells in the sock so it was easier to strain. However, next time I think we will dump out the shells into the pan and cover with water. It will be a little bit messier but I think you will have better ink.
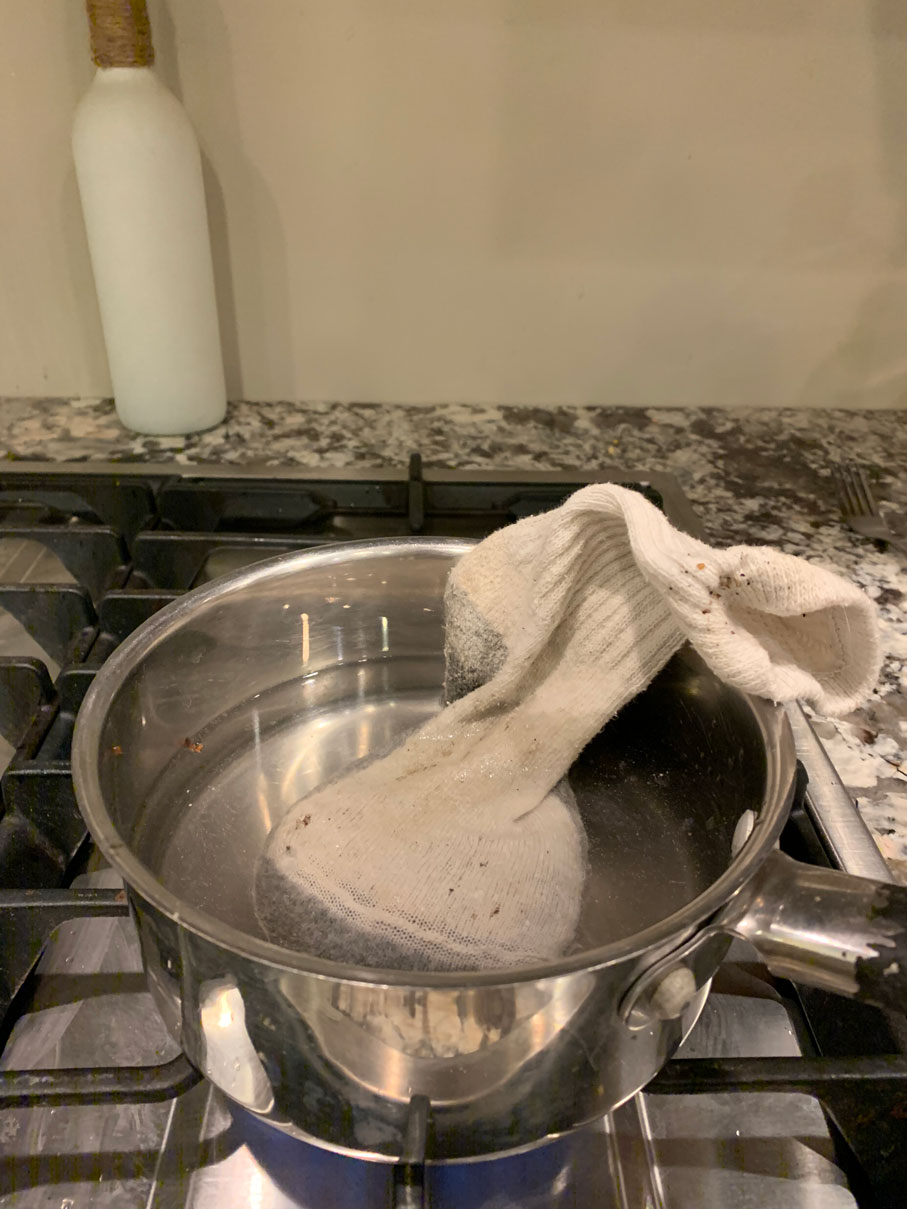
Step #5 – Heat the water until it simmers
Simmering means until the water is bubbling just around the edges of the pan. Simmer for 30 minutes.
Step #6 – Turn off the heat and let the shells sit in the water overnight.
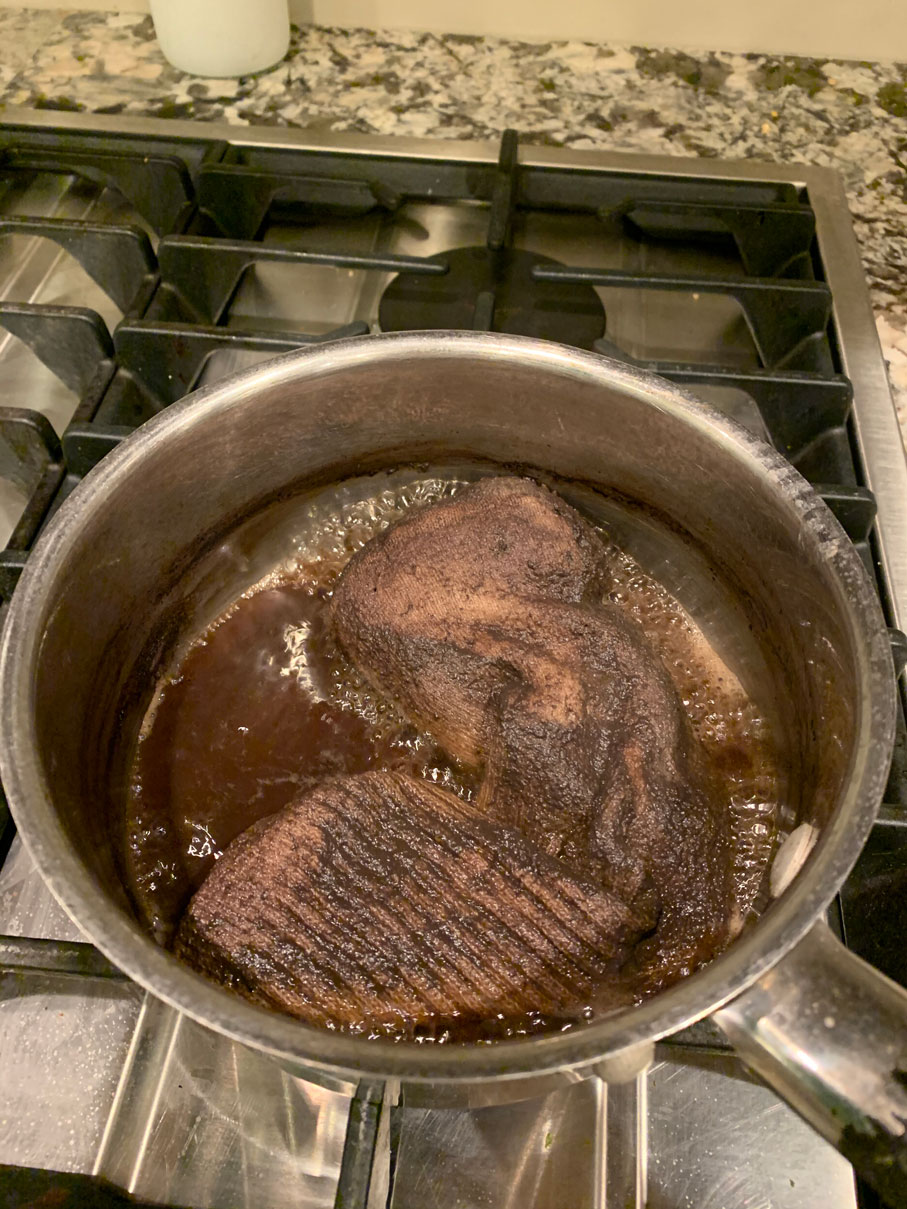
Step #7 – Pour the liquid into the strainer
This is where the sock was convenient. We just squished the sock into the strainer and it squeezed out all of the liquid that was still in inside the sock and threw away the sock. If you poured out the shells, it won’t be that big of deal to just strain them out.
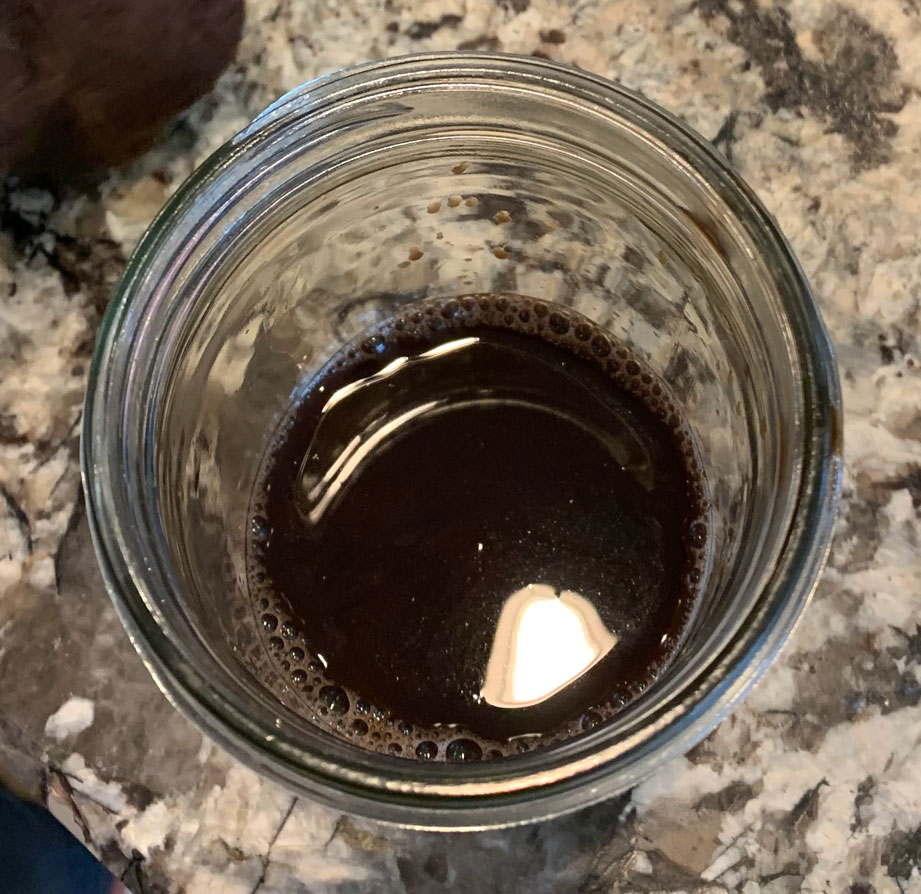
Step #8 – Add the vinegar
You are now all ready to use your vinegar. WORD OF WARNING!! THIS INK STAINS SO BEWARE. Get some practice paper and practice using your ink before you write in your notebook. It takes a little bit getting used to. As you can seen in the picture below, the ink on the left was the old walnuts we found and the ink on the right was from pecan shells. It worked much better.
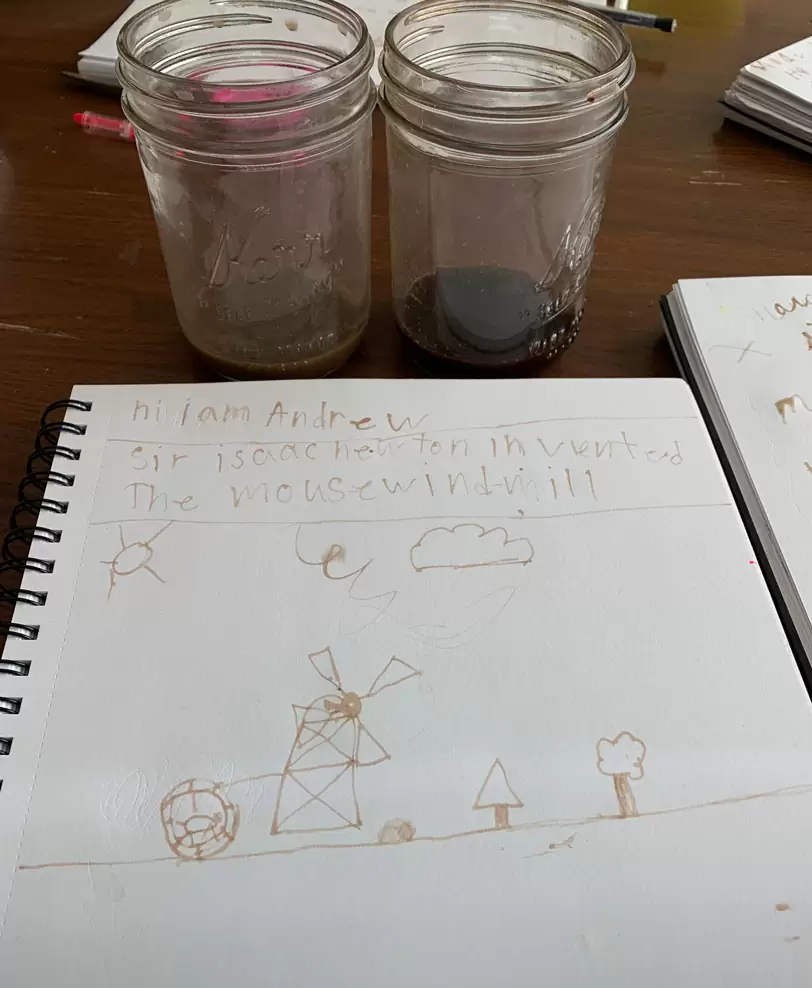
The first time we didn’t have the old fashioned calligraphy pens so we tried empty pens and empty mechanical pencils. The mechanical pencils worked really good.
You child can do copy work or use these secret decoders to write a secret message to their friends. They could also write your own poem or story with this stuff. It is great fun! We hope you enjoy!!
