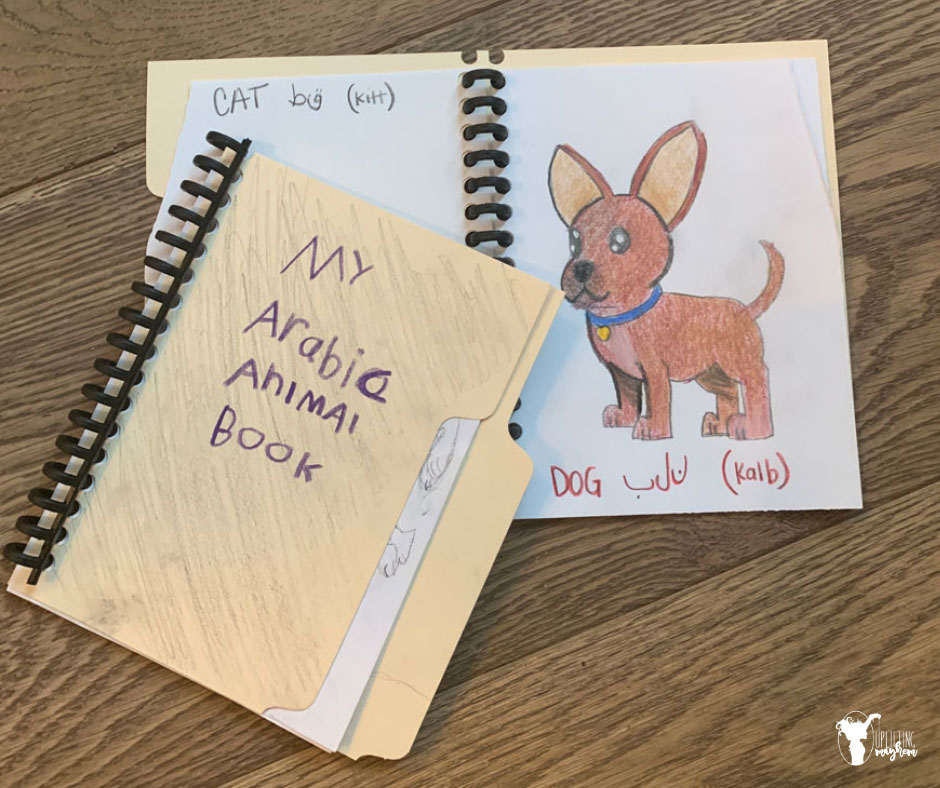
This homemade blank page notebook are perfect for any project you do with your kids. You can add as many pages as you want, or make them small to fit your children’s art projects. The best part is that they are easy to make and affordable! This post will go over quickly how to make a blank page notebook and also provide ideas to use them.
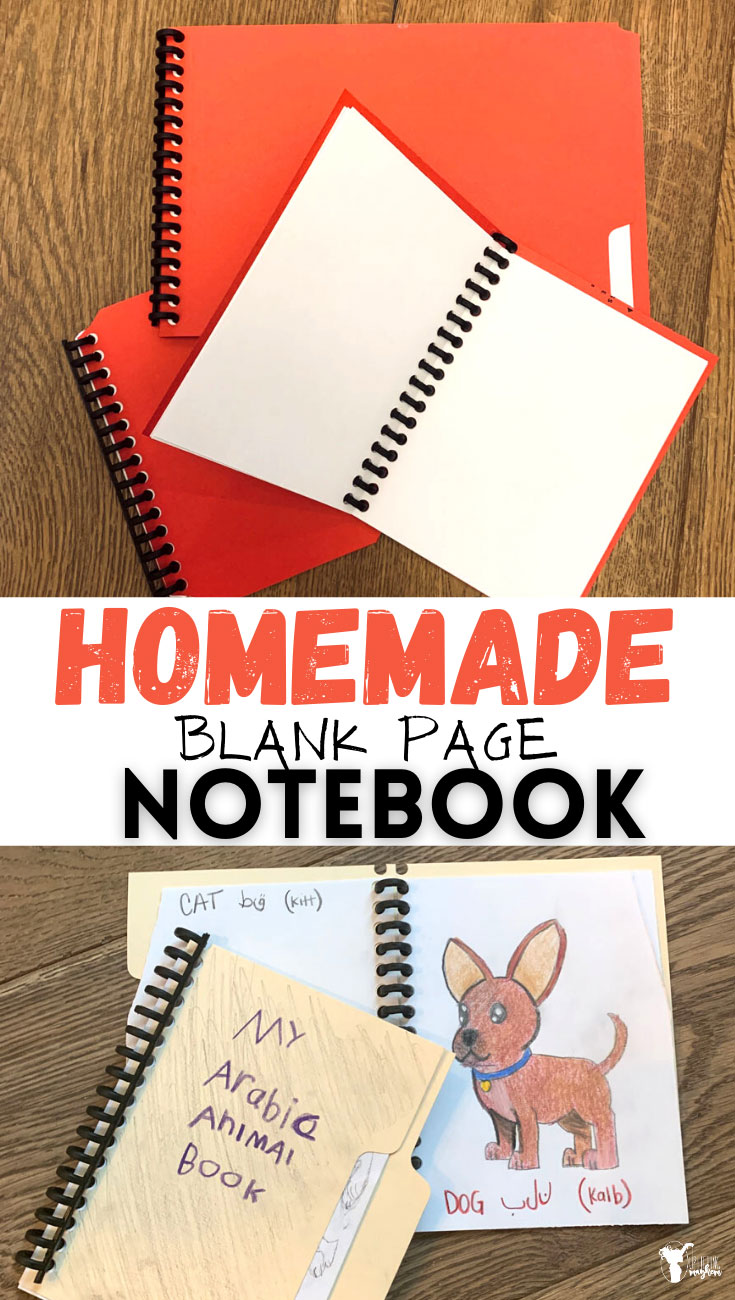
Items you need for your own HOMEMADE Blank Page Notebook!
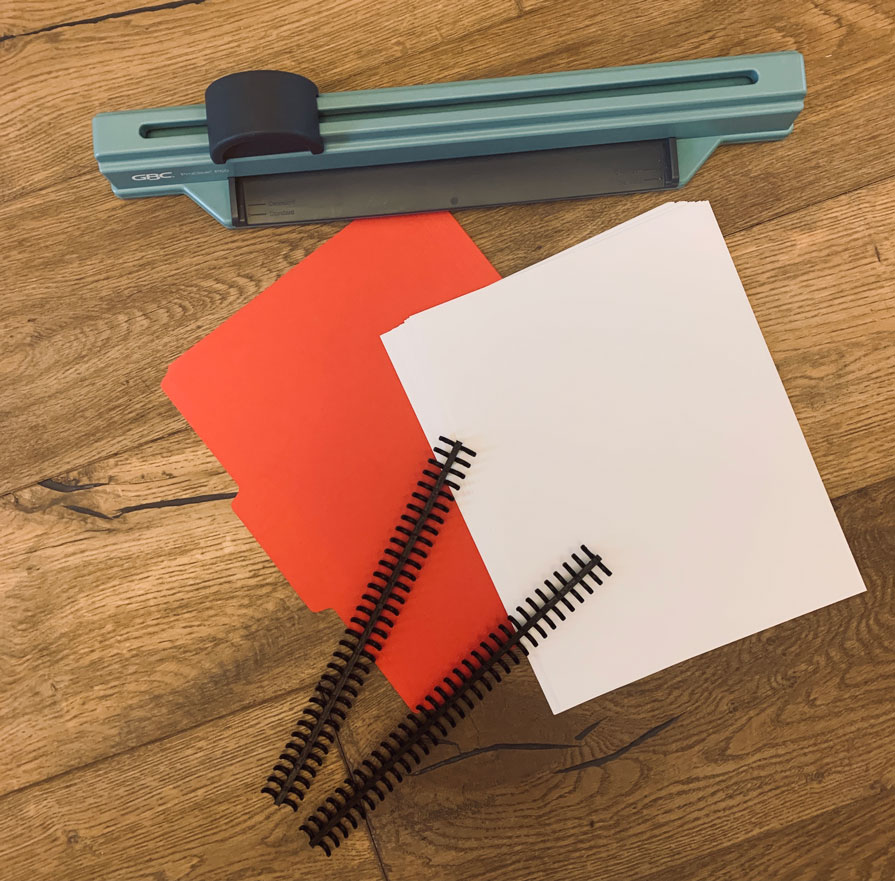
- A file folder – I love using colored ones, but I was given a whole box of cream colored ones so we use those a lot.
- Computer paper/Lined paper – Really any paper that you would want in the center of your book. We have used both depending on the project we are working on.
- A binding machine – You don’t need a binding machine, but it does make it faster and look nicer. You can use a whole punch and tie the binding with string which would be really cute. I have this binding machine but there are a lot of options out there. I use mine all of the time and well worth the investment for my family.
- Something to tie or hold the book together. I use these spines that are used with my binding machine, but string works too.
That is it. You could probably finish the project without anymore instructions from me, but here are they are anyways. This post isn’t here because this is a hard project that you need step by step guidance. It is here because I use these homemade blank page notebooks all of the time in our homeschool and I want to share this idea with you!
I learned about them from a friend who posted a picture of them. She made them for her class and in a couple short sentences she explained how she made them.
That was all I needed!
SIMPLY JUST THE IDEA! The rest you can figure out. I’m so glad I learned about these homemade blank page notebooks. They are seriously so fun!
Step #1 – Gather your supplies and decide the size you want for your homemade blank page notebooks.
I use the two sizes shown in the picture below, which is a half sheet of printer paper and also a quarter sheet.
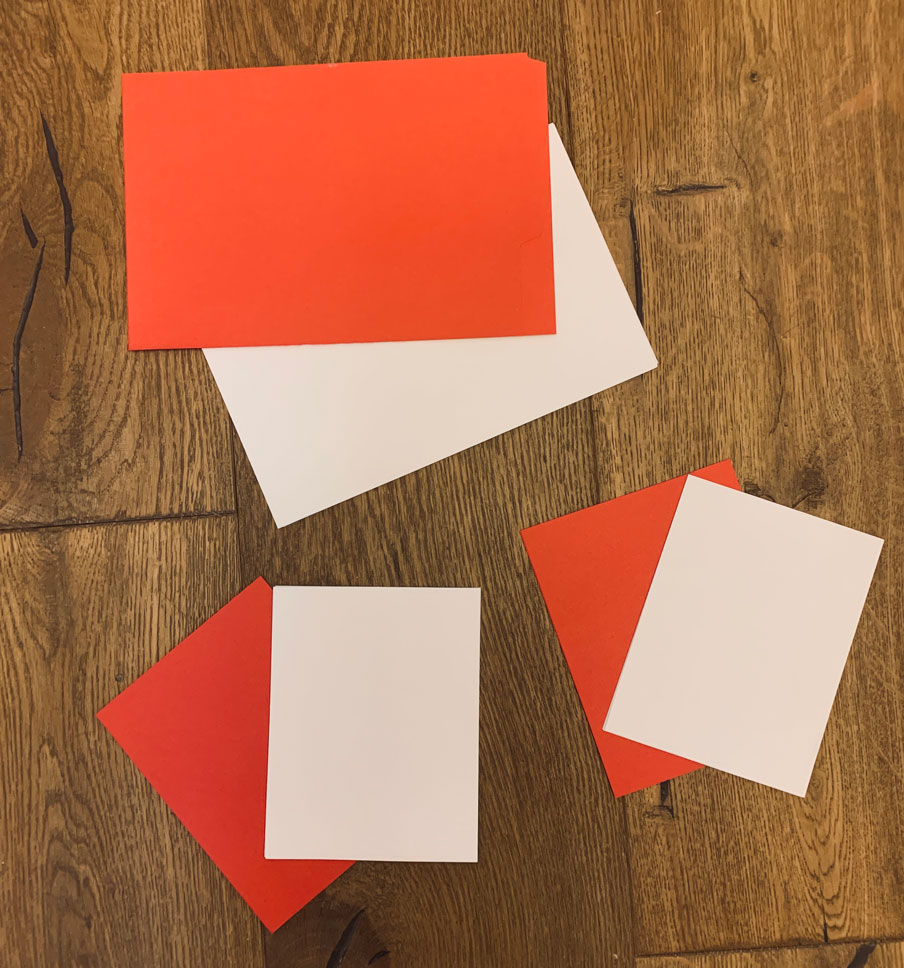
Step #2 – Cut your paper and the file folder to size
The file folder is your cover for your blank page notebook. Cut the folder slightly bigger than your paper. Some of the paper may still show because of the indents on the folder. I use the entire folder to prevent waste, so this doesn’t bother me at all.
Step#3 – Put holes on the edge you want bound
Use your hold puncher, or binding machine and put in the holes needed to bind your notebook
Step #4 – Bind your notebook together
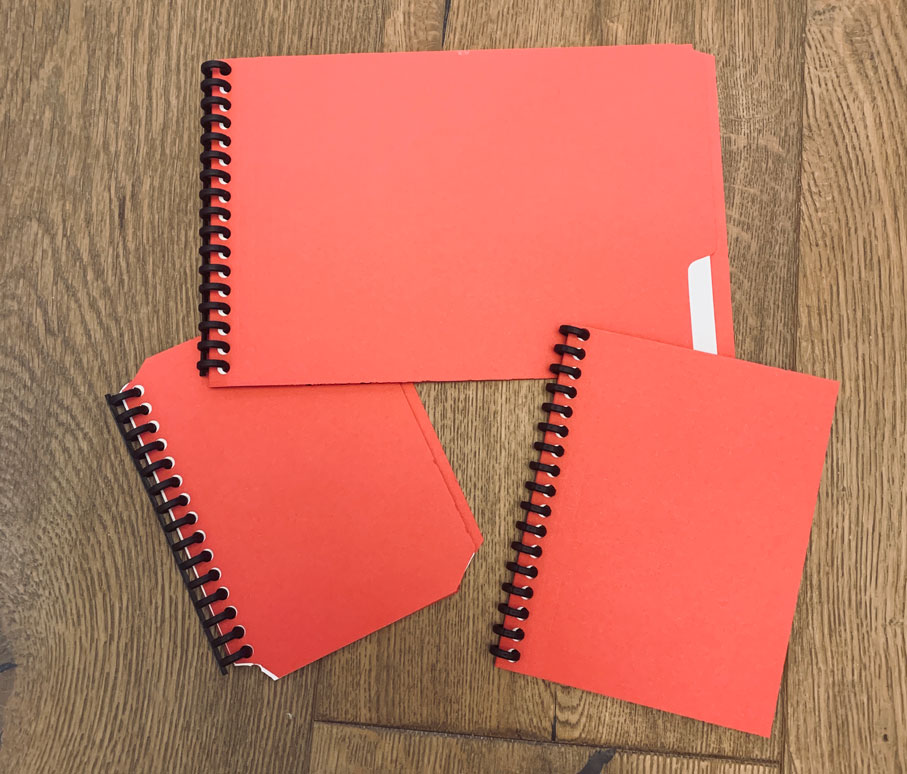
That is it! Super super easy! Your kids will love them.
Here are a couple ideas that we have done that my boys have loved doing.
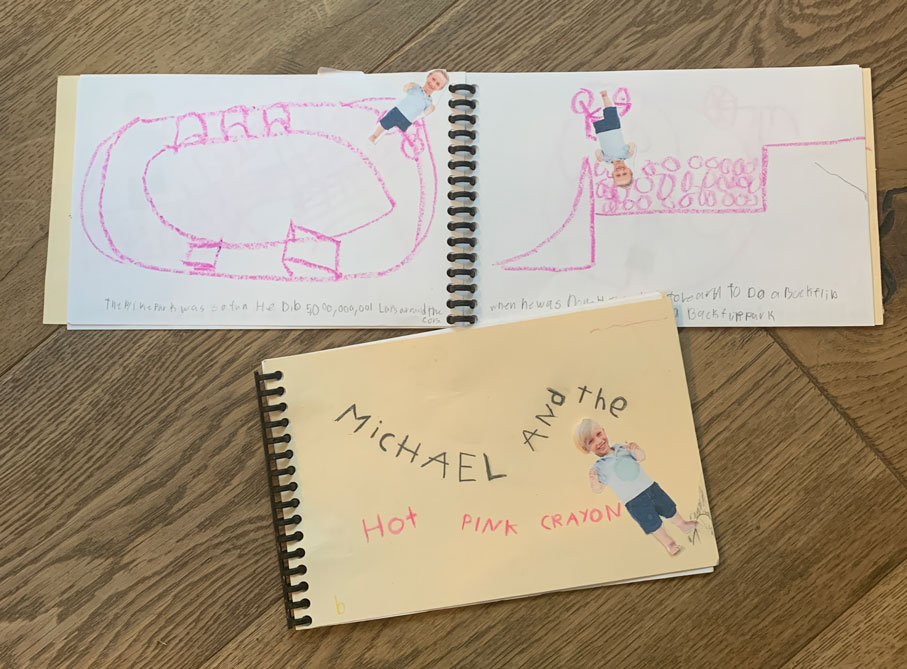
- Write and illustrate your own story
- We used this book as inspiration, Herald and the Purple Crayon, and changed the name of the story to my boys name. They also changed the color of the crayon if they wanted as well. I printed out the head of each of my boys and they drew the rest. It was so fun to make.
- Make an ABC book. We have done an animal/insect book
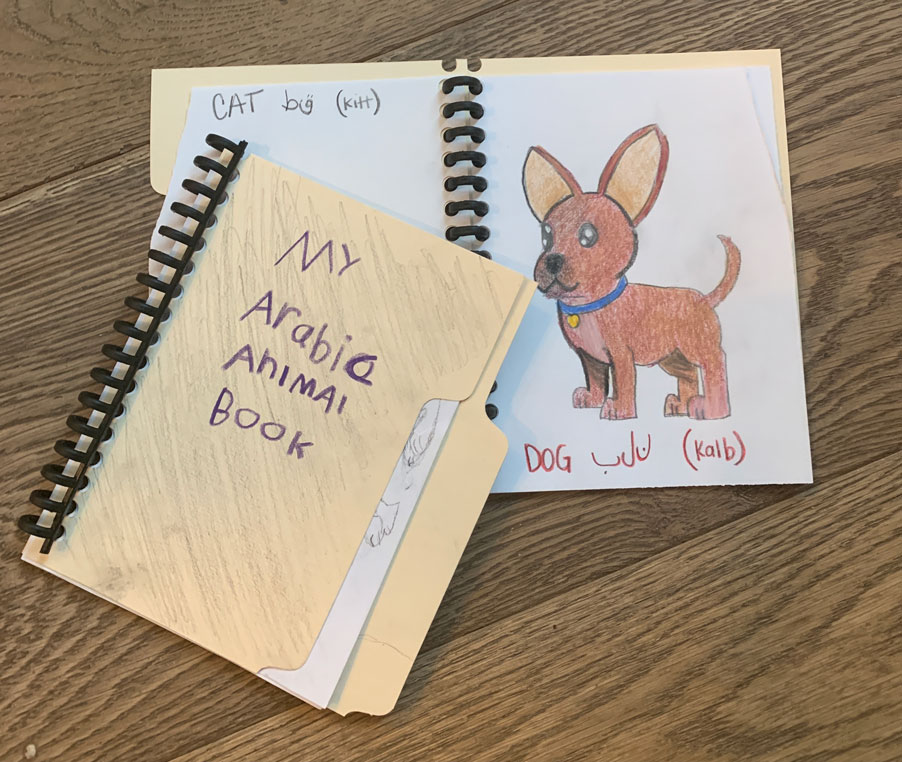
- Make a book in a different language. We have been learning about the Arab peninsula so we made an Arabic Animal book. On each page is an animal that is labeled in English, Arabic and also the pronunciation for the word in Arabic.
- An ongoing letter between you are your children. My boys love this. I write them a letter in their book, and they write one back to me. As a result they get this whole book of letters that we have written back and forth to each other. This is so fun!
- Make your own ink and practice copy work in these notebooks.
These are just a couple ideas for you! The options are endless. ENJOY!! Here is a post on how to apply notebooking into your homeschool.
