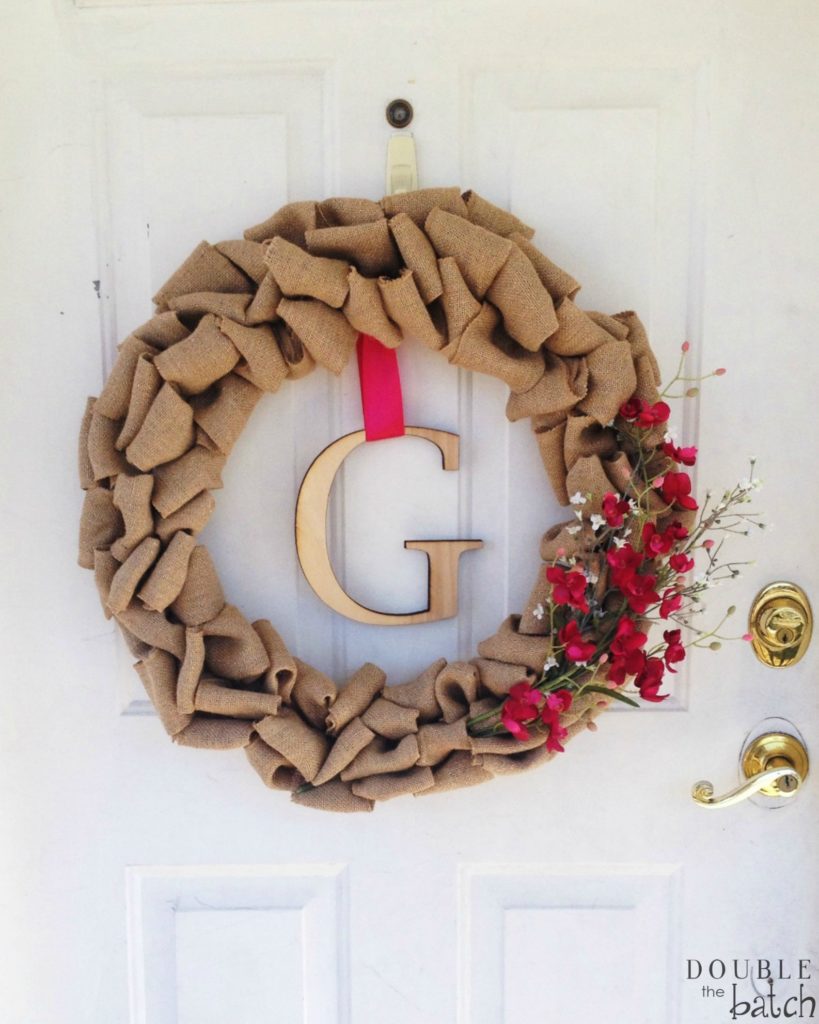
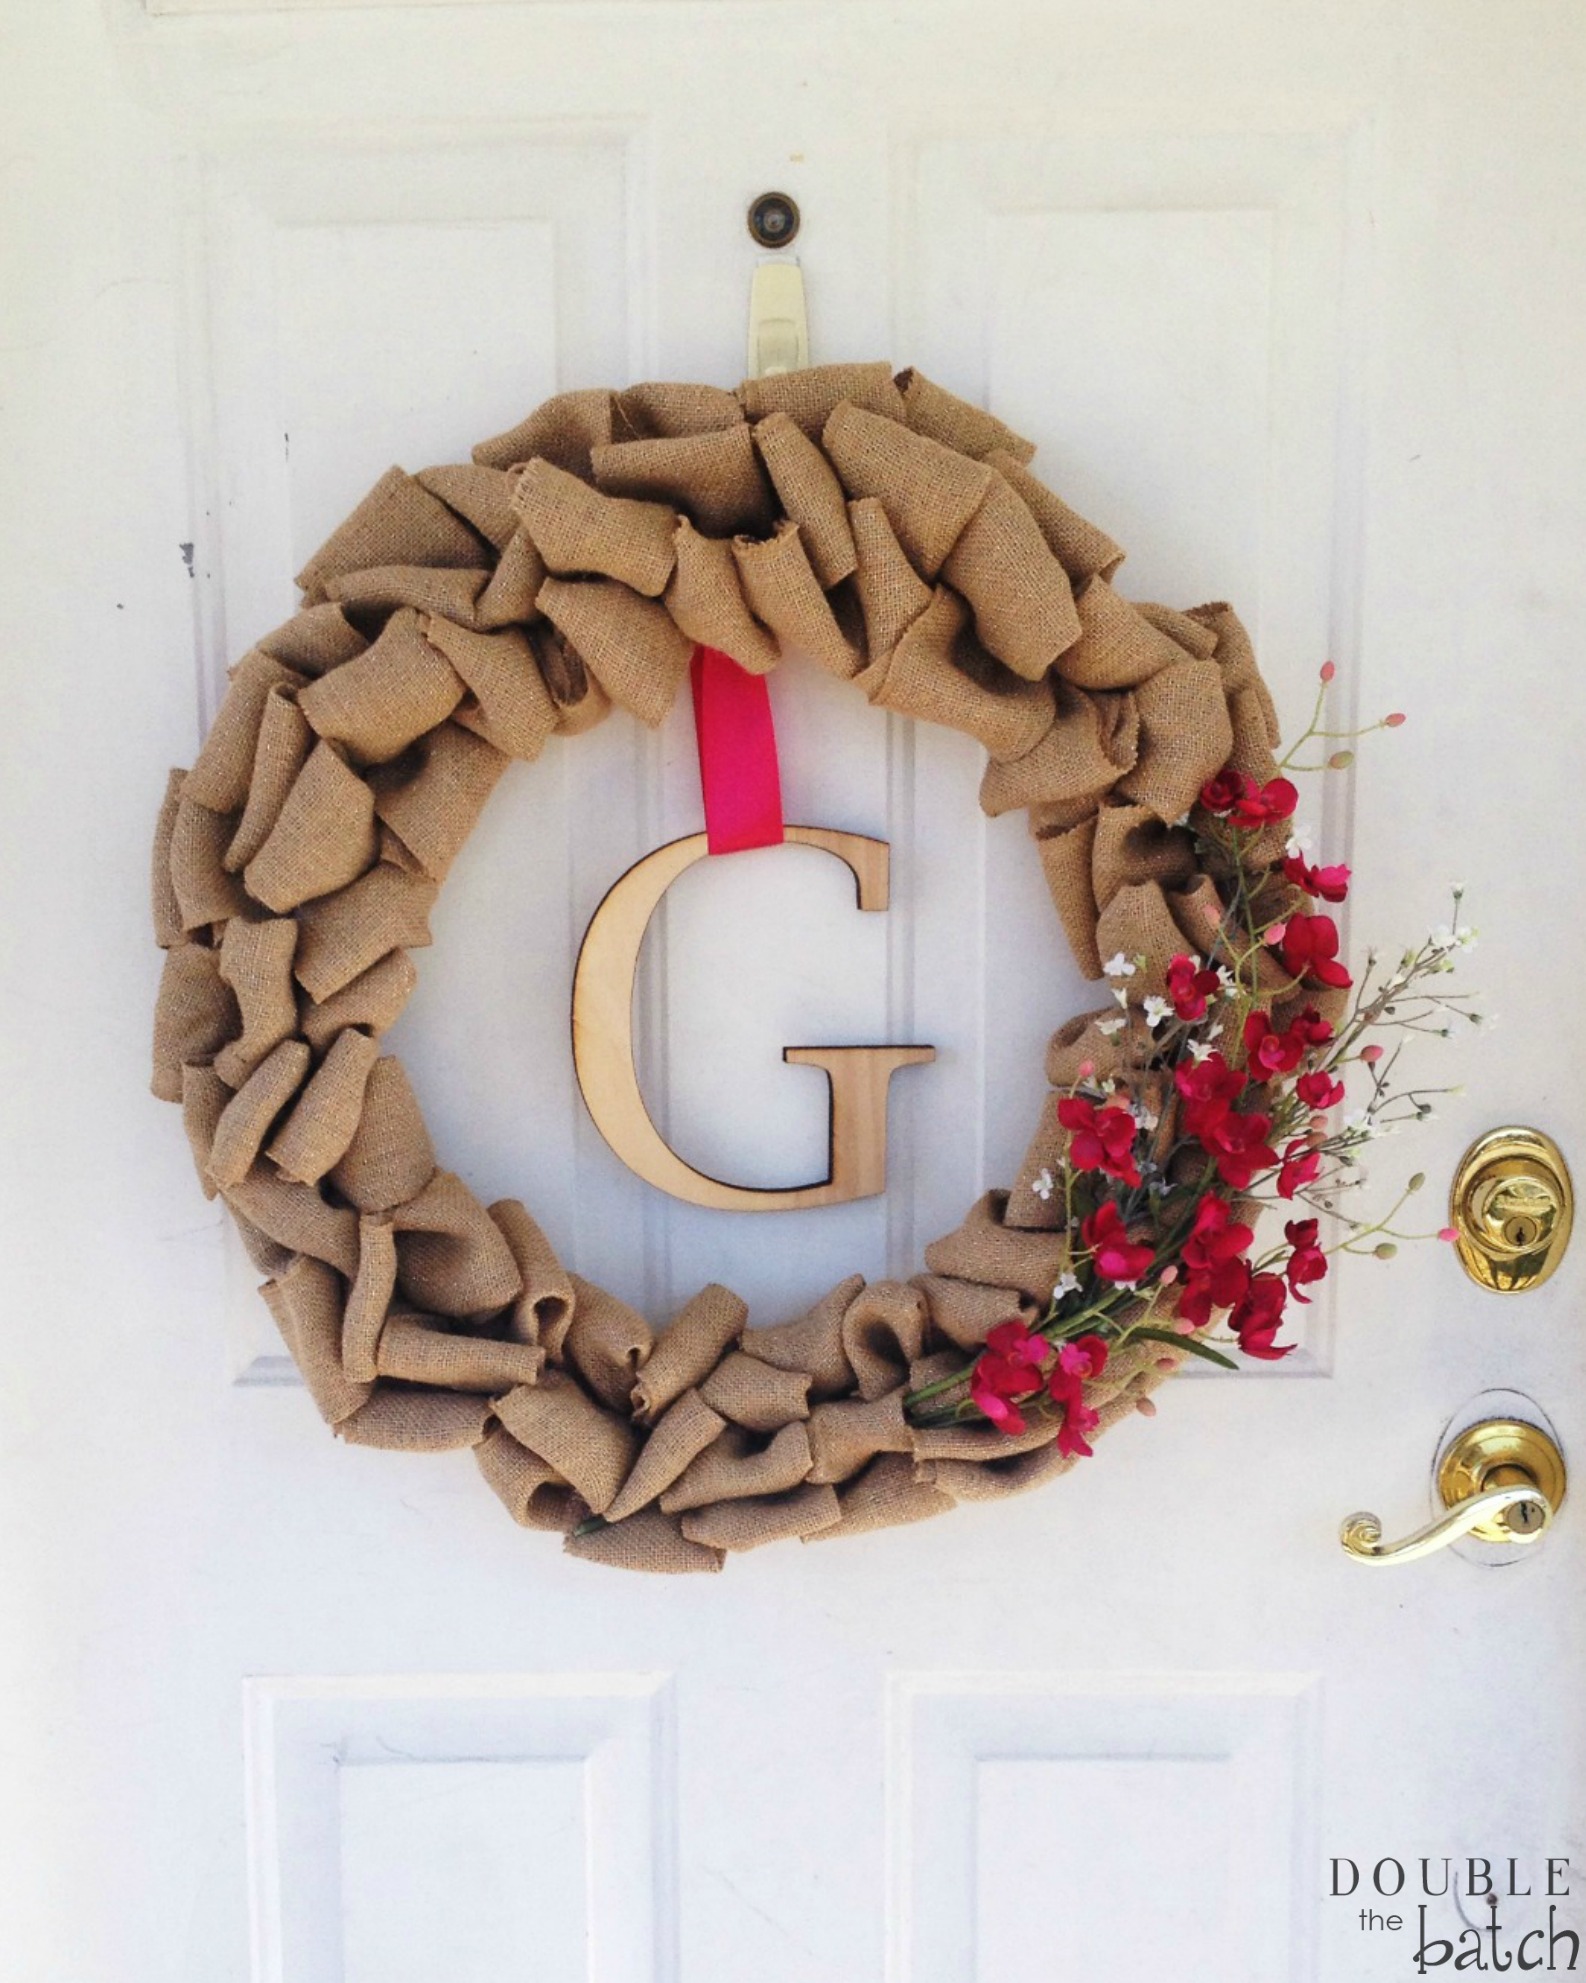
Okay! Check it out guys! I’m gettin’ my craft on! *jiggity jig* So this DIY Burlap Wreath was seriously so EASY to make and I think it turned out pretty good! Granted, I wish I had a darker door, because I think darker is classier. (Someday I’ll have a home of my very own and you can bet that door will be a dark color. ;-)) Anyway, Tangent over. Let’s get to the tutorial!
Here’s what you’ll need:
1. A Green Wire Wreath! I bought mine at Hobby Lobby for 3.99
but if you want your wreath smaller I’m sure it’s even cheaper than that.
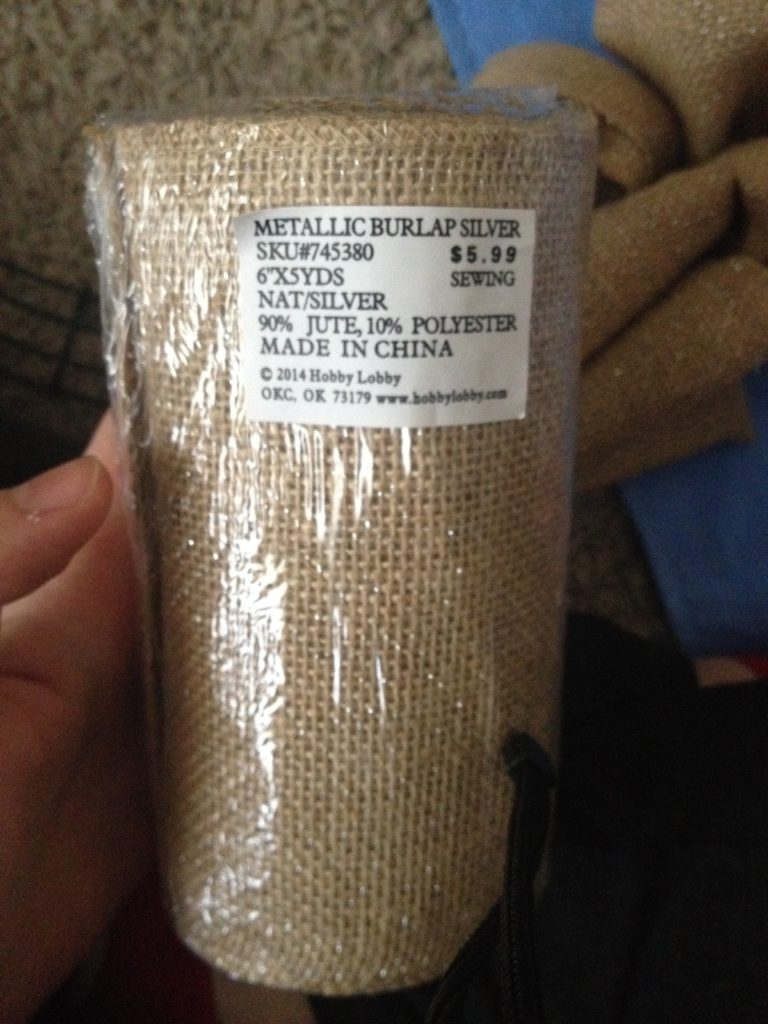
2. Burlap Ribbon
I got this kind, also from Hobby Lobby.  Except because my wreath was so big, I went through 3 1/2 rolls of it!
I later found this deal on Amazon and that’s definitely what I’m doing next time to save on money.
I also recommend using 4 inch width so you don’t have to fold it over.
3. Floral Wire
4. Any flourishes you want to add on after!
Steps

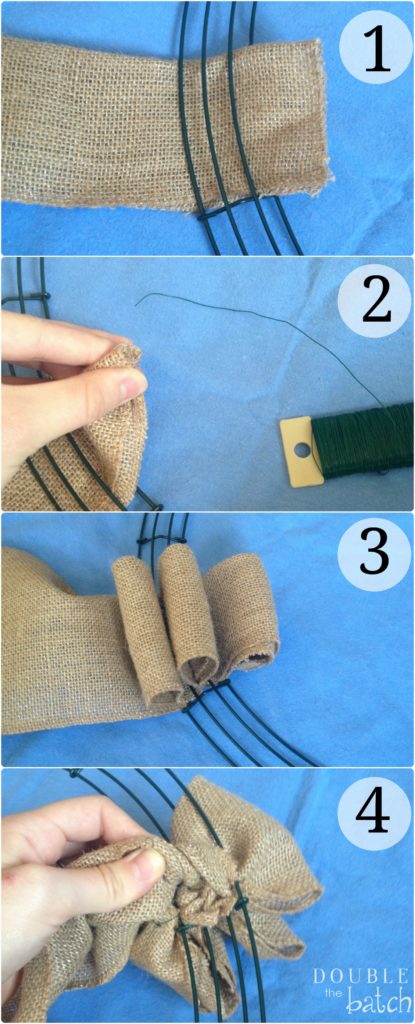
Step 1: Thread your burlap through the first space of the wreath.
(going in towards the CENTER of the wreath)
Step 2: With your floral wire, secure down that first loop to the wire of the wreath.
(You wont have to do this again until you’re finished, unless you run out of burlap.)
Step 3: Pull the burlap through each of the spaces to make your loops.
(I did about 3 inches tall for mine, but it depends on how full you want your wreath to look)
Step 4: After you have your loops, scrunch them to the side as much as you can. Then you will turn the wreath over, and twist the burlap on the bottom to go into your next section. (This helps secure it as you start back in on the first space of your next section.)
Repeat the steps (except step 2) until you’ve gone all the way around your wreath with your burlap THEN you will cut and secure the final loop with wire. 😉
Finally: Add whatever decorations you want on it and secure it down with wire.
I’ve noticed some people wire down their decorations *before* they finish burlaping but not only was that too complicated for me but I also wanted to be able to easily remove the decorations and replace them with different ones according to each holiday.
And there you have it! A not-so-bland looking door anymore!


