Its hard when summer ends and everything begins to die. There is a chill in the air that calls for a jacket whenever you leave your home. Your garden freezes and stops producing. For me, it is always a little sad when I have to start buying vegetables at the store again. I find a lot of satisfaction in eating produce right out of the garden.
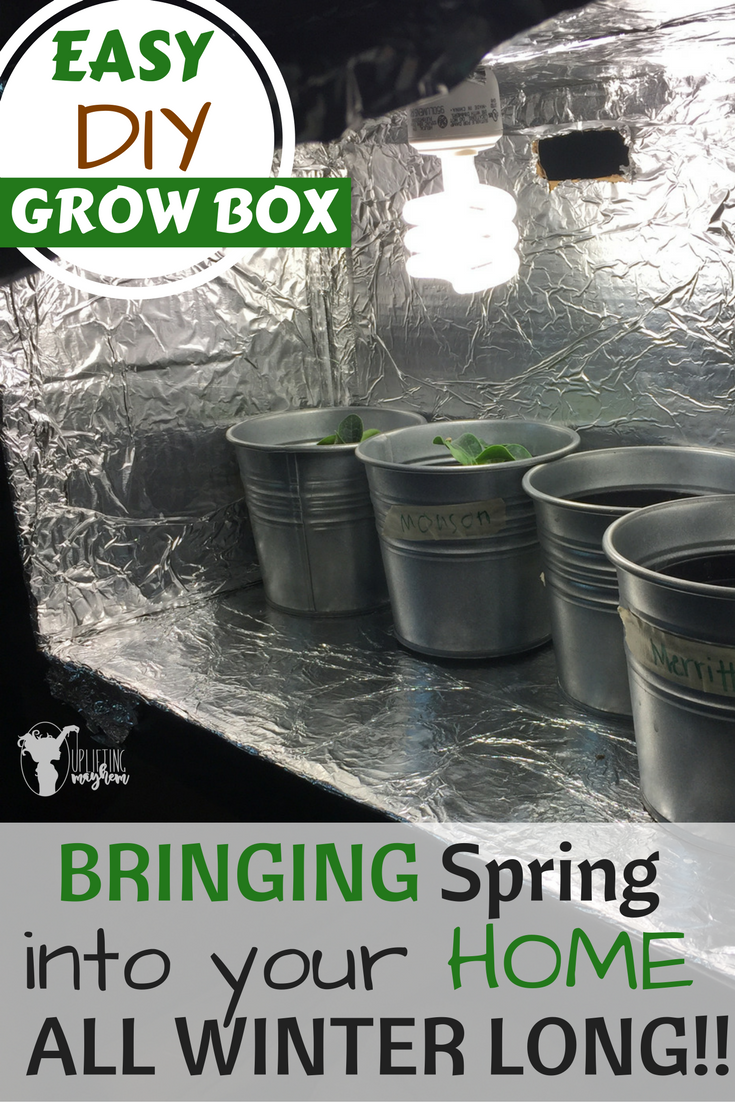
In school this year, my boys are studying plants. This last week we made a grow box that is so simple to make and works really well. Within a week my boy’s plants sprouted and began to grow. They water and watch their plants grow everyday! This grow box provides light and warmth. All you need to do is make sure the soil is moist!
Super Easy!
We received this idea from this APOLOGIA Science book. My boys did most of the work and we were done within 30 minutes. We planted various seeds, watered them, and placed them in the enclosed grow box we made. SERIOUSLY like 5 days later we had our first sprout! We will be testing out how well different herbs like cilantro will grow.
Here is what you will need…
- A computer paper box
- Aluminum Foil
- Glue Sticks or This Scotch Adhesive Applicator
- A knife
- Light Bulb Socket
- 15 Watt Fluorescent Light Bulb
- Old Plastic Lid (Cool whip lid)
- Planting Pots (With drainage)
- A trey or other pot to catch the water (I USE these super cute pots from IKEA. You can find them on Amazon too.
- Seeds (These Seeds are common herbs you use for cooking) or any kind you want.
- Potting Soil
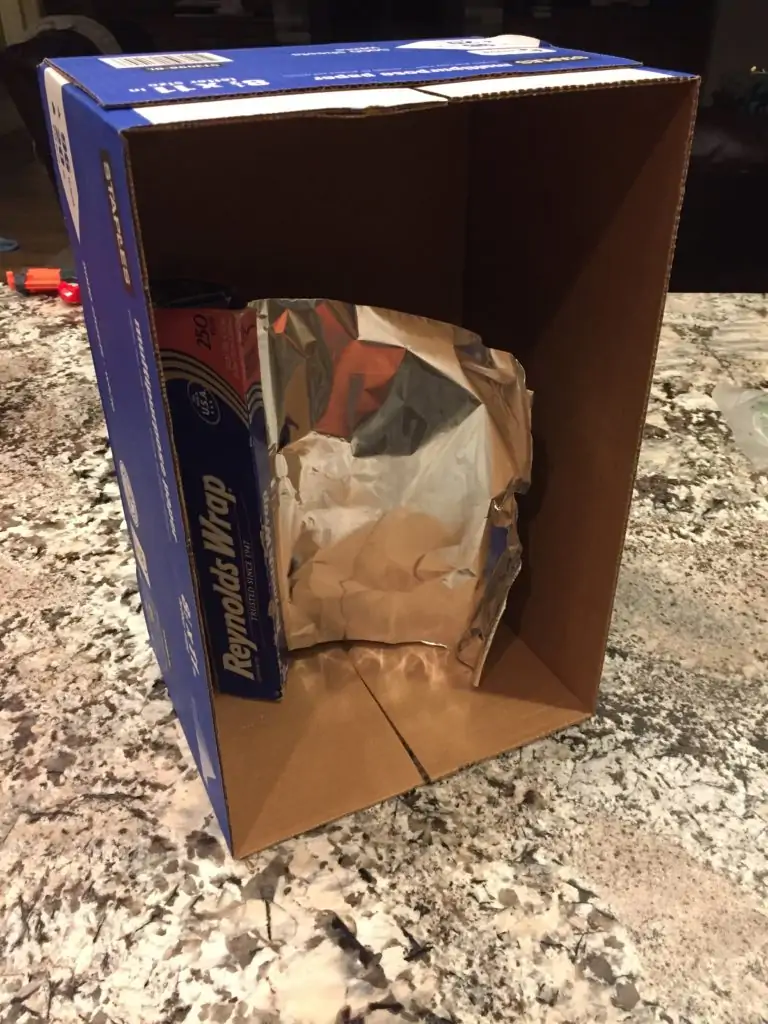
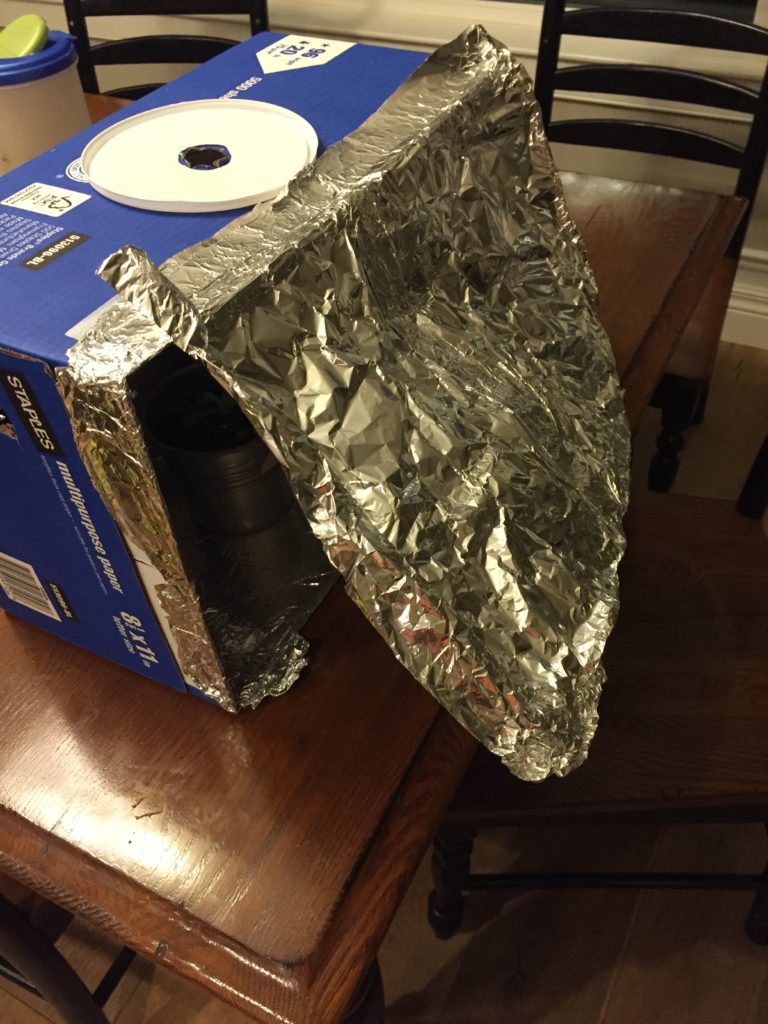
#1 – Place tinfoil along the entire inside of your computer box.
Use a glue stick or some kind of double stick tape. We made two boxes and went through 3 glue sticks! Yep the kids went crazy! I have fallen in love with this AWESOME double stick tape dispenser. I use this bad boy all of the time! It is easy and mess free. The only downside is it is a little pricey.
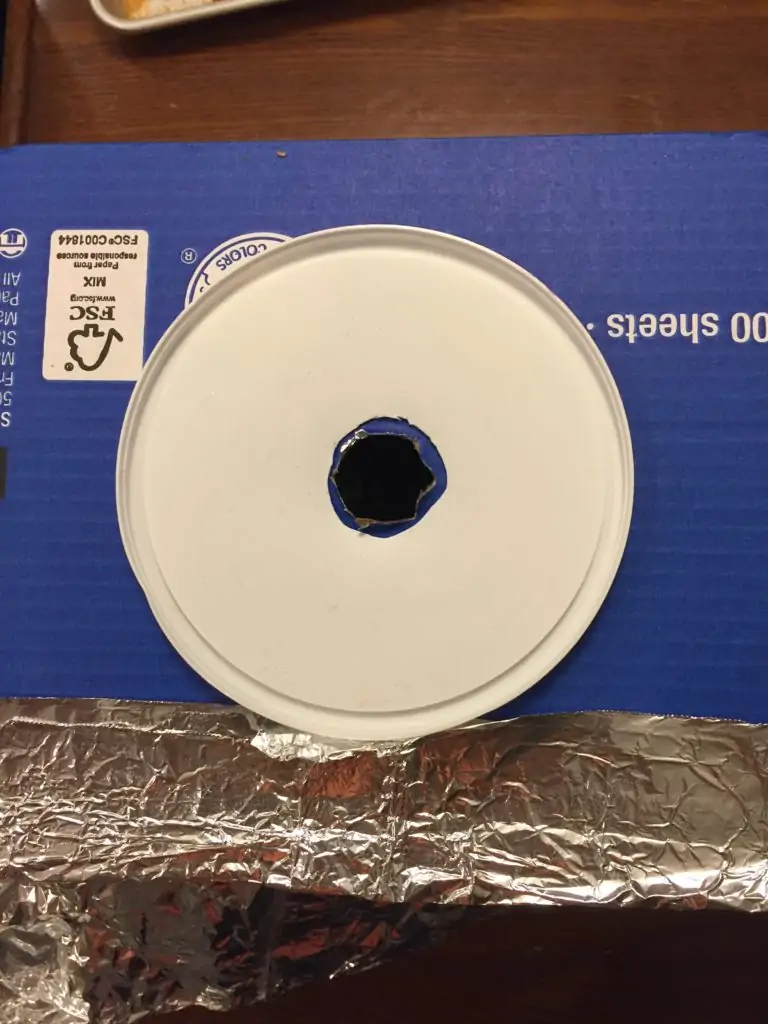
#2 – Cut a round hole on one side of the box that you want to be the top.
Cut a hole through your plastic lid close to the same size or a little bigger than the hole you cut on the box. Cut ventilation holes on the sides and back of the box as well.
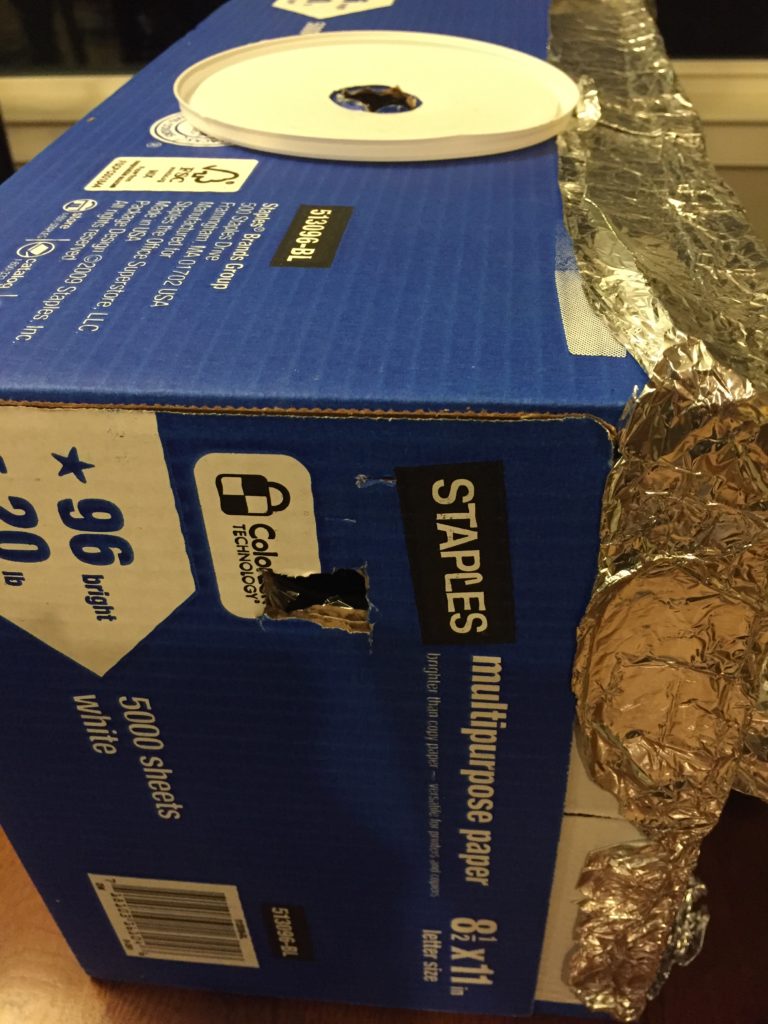
Step #3 – Add an aluminum curtain to the opening of the box. This will help keep the heat inside of the box.
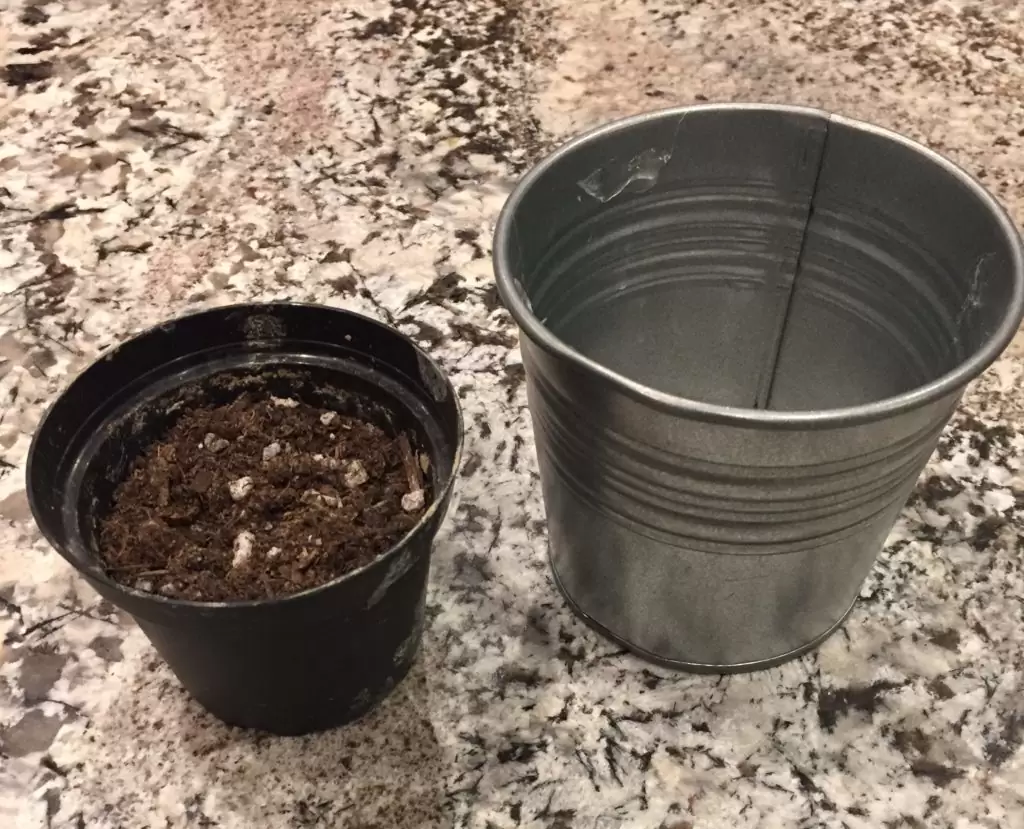
Step #4 – Get your potting soil and pots.
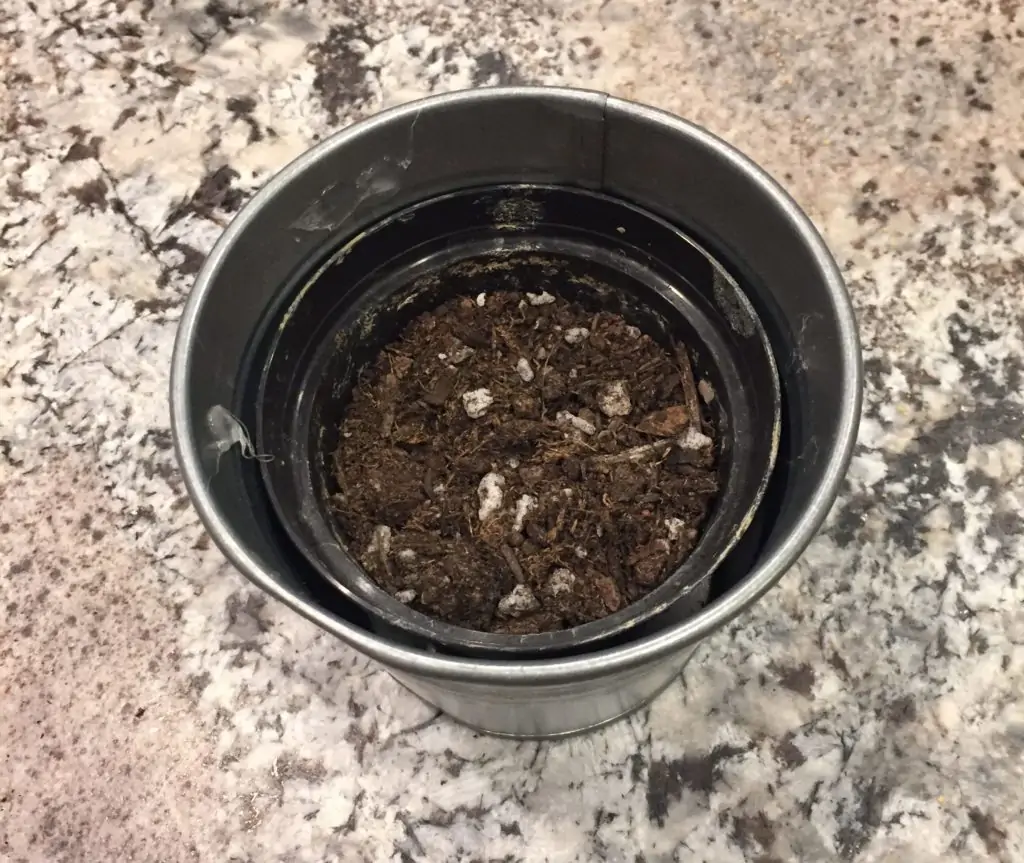
One pot needs to have holes in the bottom to allow for drainage. Another pot catches that water. I got these adorable tin pots from IKEA which you can find on Amazon HERE and the pots with holes in the bottom you can get HERE
Step #5 – Plant your seeds and water them
Plant a variety of seeds and see which one works best!!
Step #6 – Screw your light bulb in from the inside and place your pots in their new grow box!
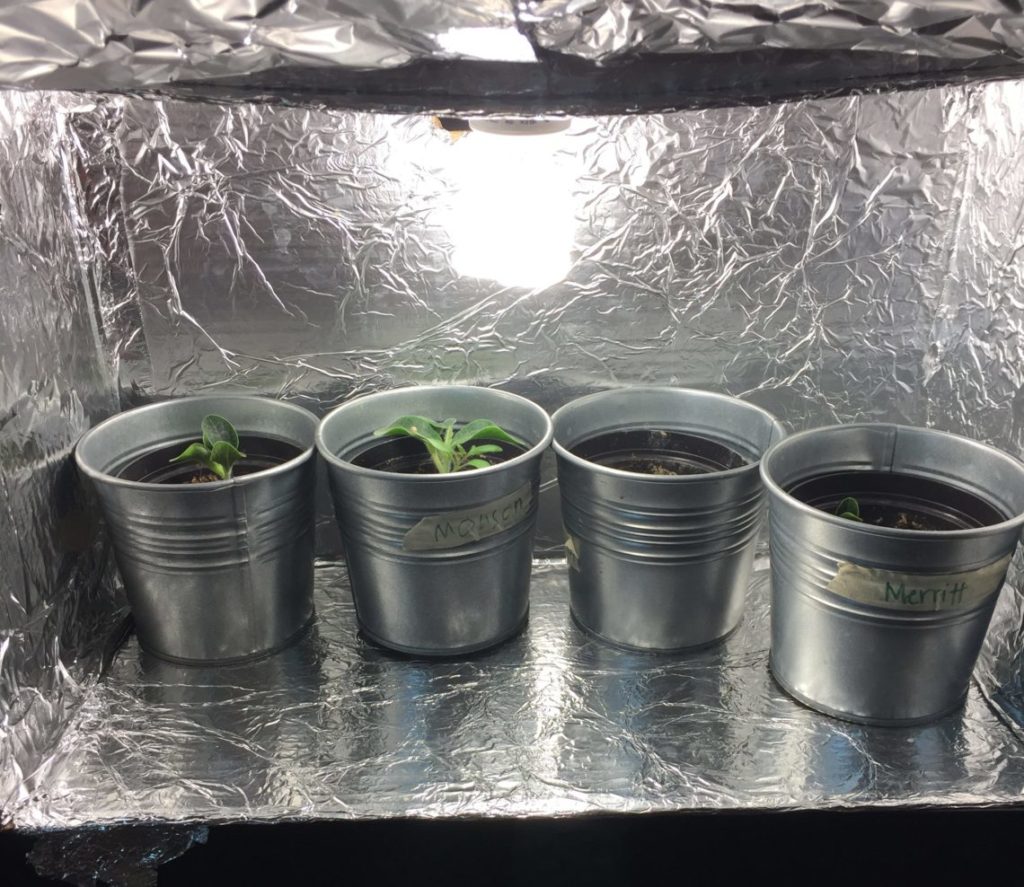
Step #7 – Water and keep soil moist and watch your plants grow. We saw our first sprouts come up after a week.
This is such a fun activity to do with your kids. I never get tired of watching my kid’s excitement as they watch their little seeds grow. I still get a kick out of watching plants grow! Growth and life amaze me and we are able to continue to plant and watch things grow all winter long with this amazingly EASY grow box!
ENJOY!!

58 thoughts on “DIY Grow Box – Bringing Spring into your home ALL Winter Long”
Comments are closed.