As I have been homeschooling my boys, I learned quickly that each one learns differently. One boy can sit and read for most of the time I work with him, while another boy has to be doing something with his hands CONSTANTLY!! He learns better as he is moving and doing. This brings up different challenges for me. I have to be creative in teaching differently, which can be time consuming. However, it becomes all worth it when I see improvement and confidence in my child because of it!
The other day I was working with one of my boys on decoding difficult words. The curriculum I use focuses a lot on spelling rules, which I really like. We came upon a part of the lesson that was titled, “Decoding Difficult Words”. Some of the words were, accentuating, adventurous, turbulently. You take each word and break them up in syllables, and use spelling rules to figure out how to pronounce the word. Needless to say, my son struggled, and took awhile to decode these words.
I was sharing my frustrations with another mom who also homeschools. We began brainstorming some ways we could teach this and have it be hands on. After talking and bouncing ideas off each other, we came up with a fabulous idea that my boys LOVE! We call them the BUILD A WORD BLOCKS!
You can use these blocks for so many different things like, spelling words, decoding words, phonics, and even math. You have your child write their spelling word with one letter on one side of the blocks. Continue until all six sides of the blocks have spelling words on them. Next, mix up the blocks and have them build their spelling words back up again.
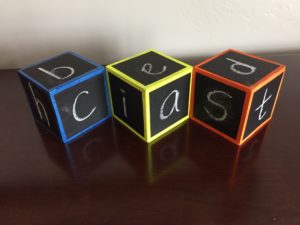
As shown in the picture above, ask your child to spell CAT. Mix them up again and ask them to spell BED. etc.
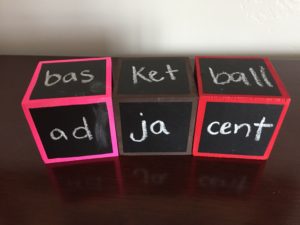
Use this same concept to break up words into syllables as shown in the picture above.
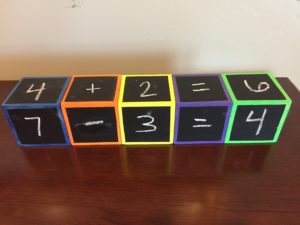
Works well with number sentences for math too as shown in the example above!
Your child learns best by repeated exposure. These blocks do just that. They write it, build it, and say it!
Here is how you make these simple BUILD A WORD BLOCKS!
You will need:
- Blocks of any size. I used these 2.5 inch blocks from Amazon. You could also get a 4×4 at the lumber yard. Not sure on the price difference but that is an option. The blocks from Amazon came ready to go. We didn’t have to sand them or anything. Just paint.
- Paint of your choice. I have fallen in love in this fluorescent paint! It is so vibrant!
- Paint brushes like these foam paint brushes or these acrylic paint brushes. I personally liked the acrylic brushes better. It was easier to rinse out and dry as I did a different color for each of my blocks.
- Sticky Back Chalkboard Contact Paper. This stuff is easy and pretty cheap at $6 for a around a 6 ft roll. You could use it for so many different things
- OR you could buy this chalkboard paint and just paint the entire block from this.
Here are the steps to bust these out….
Paint each block with your choice of paint
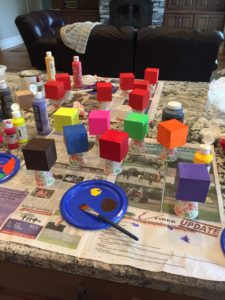 Allow to dry
Cut out the Sticky Chalkboard Contact Paper to a size of your choice. I let about a 1/4 inch show of the underlying paint.
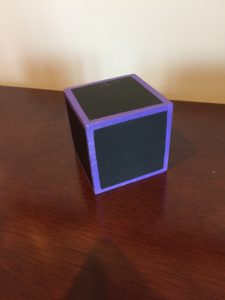
BAM that is it!!! HAVE FUN WITH YOUR NEW BLOCKS!
