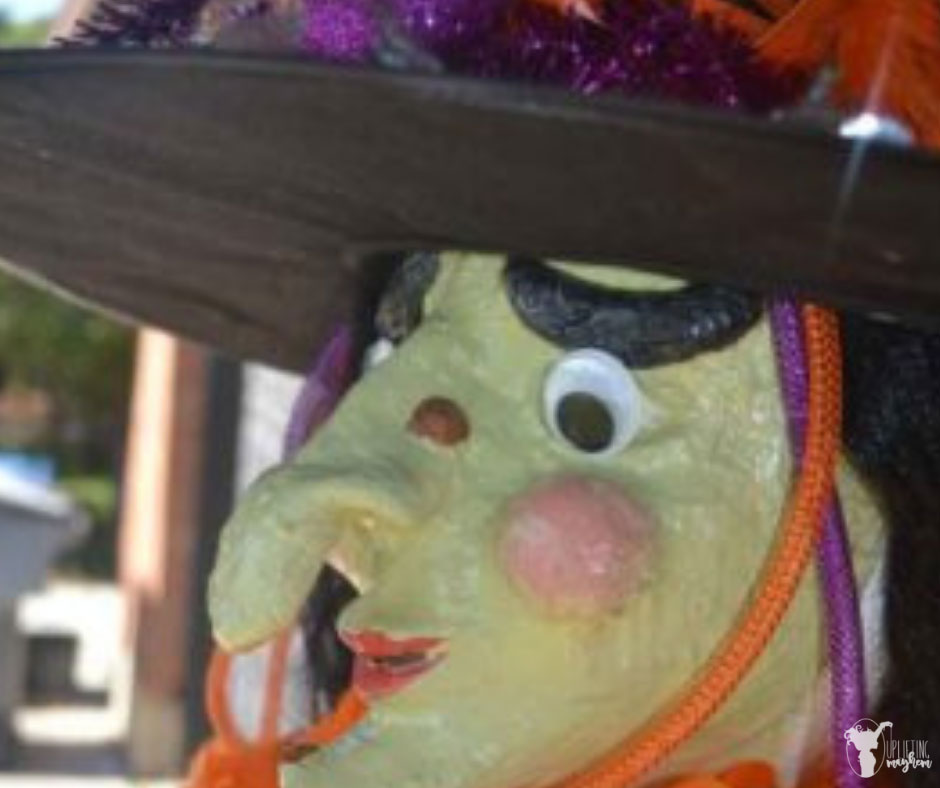
This life size Halloween witch is going to look fabulous on your front porch this year for Halloween. And it is easier than you might think. After a couple trips to the dollar store, and Home Depot you’ll be set! So let’s get started making your own life size Halloween witch!
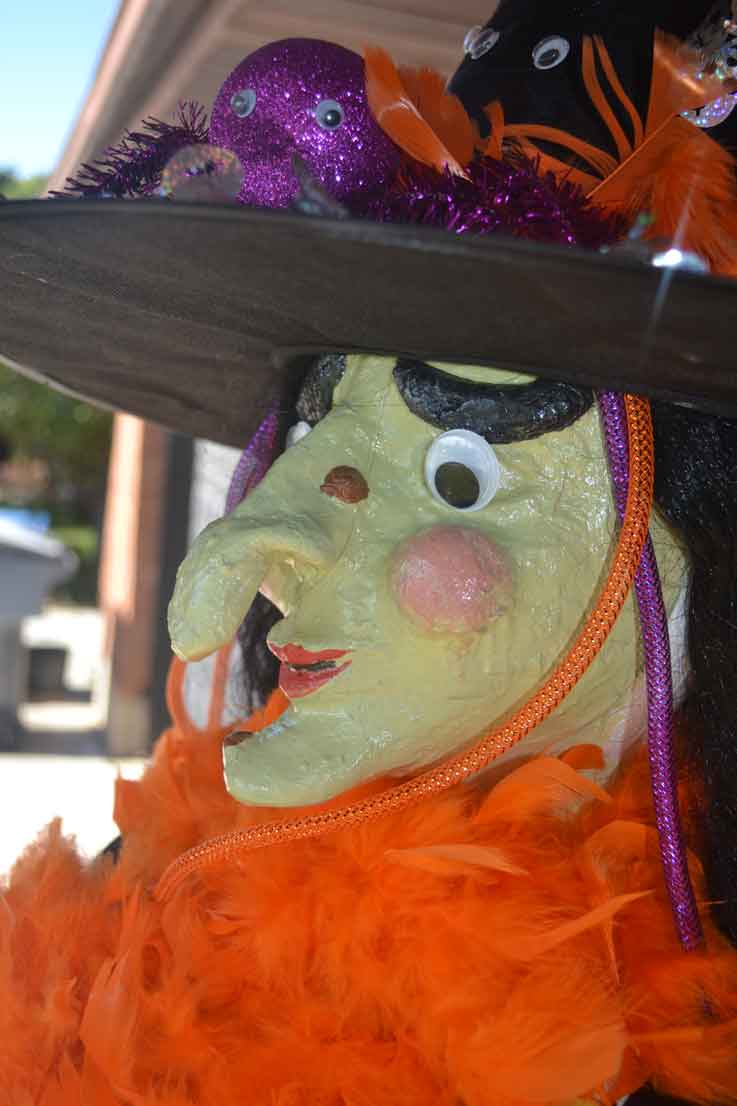
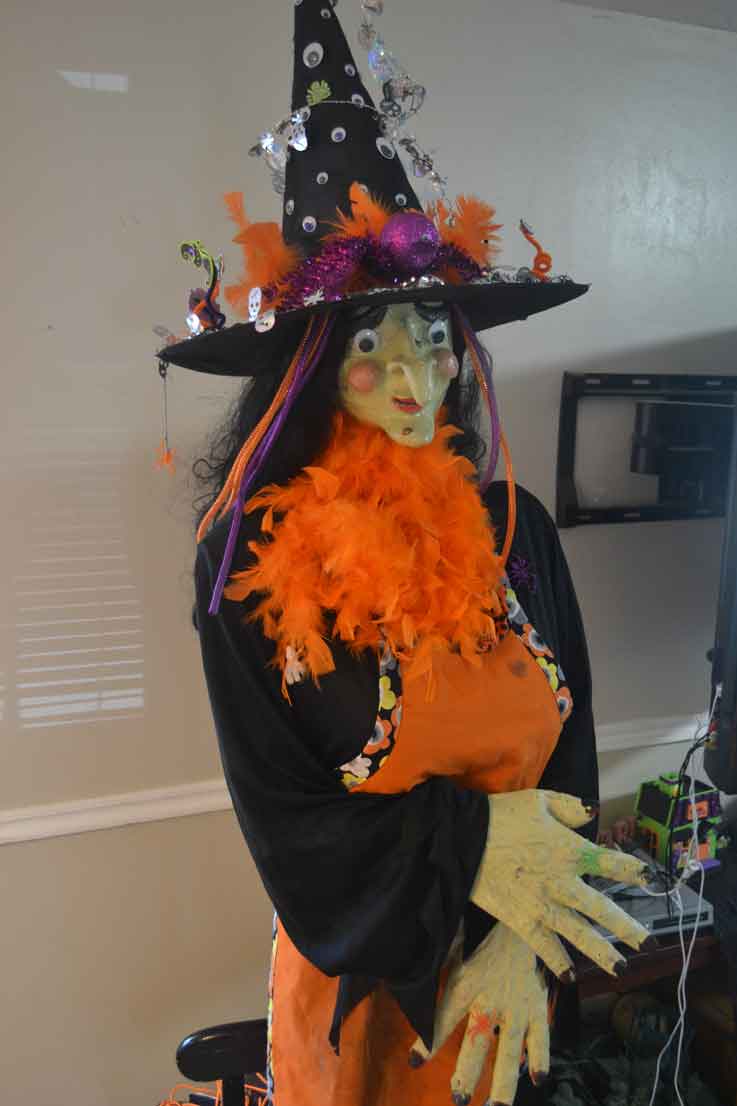
Life size Halloween Witch
#1 Build your life-size witch frame
I found quite a few video tutorials online on how to make your own witch frame, but this video was the one that I liked the best. It just took me one quick run to Home Depot to buy everything I needed. Here’s a quick list:
- Umbrella stand (make sure it fits a 3/4 inch PVC pipe)
- 3/4″ PVC pipe cut into two 10-inch pieces, two 12-inches pieces, one 60-inch piece and two 6-inch pieces
- 3/4″ cross PVC pipe fitting
- 1/2″ PVC pipe adapter
- 1/2″ PVC pipe cut into one 3-inch piece
- Two 3/4″ 90 degree PVC pipe fitting
- Two 3/4″ 45 degree PVC pipe fitting
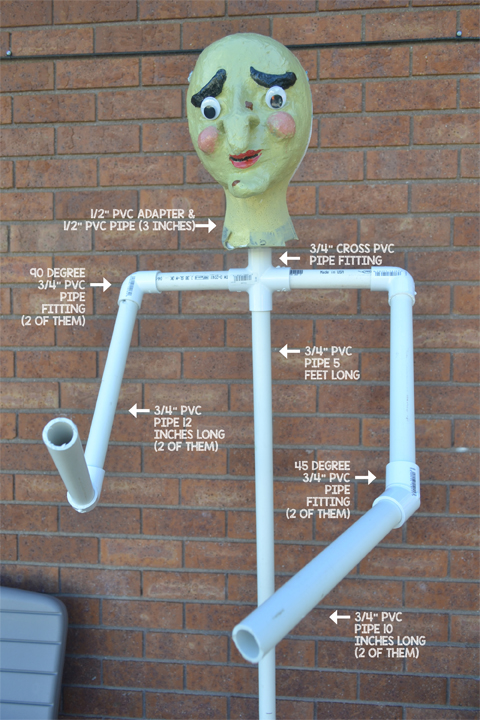
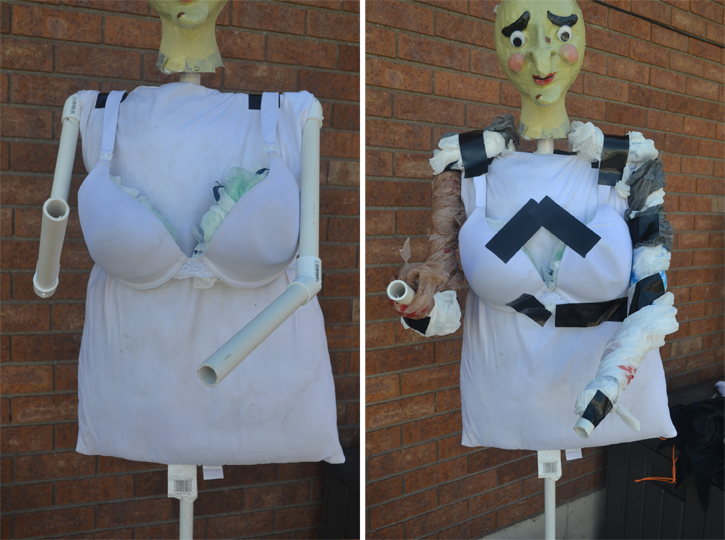
Once my frame was done, I just taped an old pillow and an old bra to the shoulders and then wrapped plastic bags around the arms and shoulders to give my witch a little bit of meat on her bones. You don’t have to use an old bra (don’t go out and buy one), but it did help give a little shape to my witch.
#2 Create the face and hands
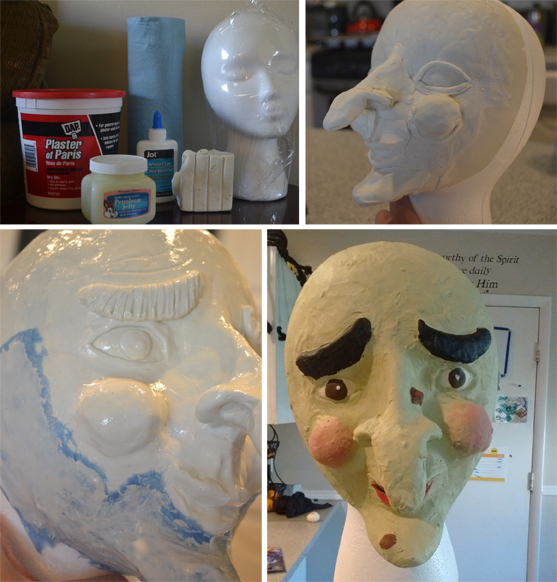
Alright, if you want to do it the easiest and quickest way, just go buy a witch mask and a styrafoam head and call it good. However, I wanted my witch head to be unique and less scary. So, I put a little bit more effort into it and followed this simple tutorial.
Either way, you’ll need the styrofoam head. It will fit into a 1/2″ PVC pipe perfectly. If you do decide to make your own witch face, make sure you don’t form your witch face using the styrofoam head. It won’t come off (I learned the hard way). Instead, use a life-size Halloween skull.
The hands were the easiest part. I just found some scary Halloween gloves at a yard sale and painted them green. Or you can buy them here.
#3 Legs and shoes
Making witch legs is deceivingly difficult. You can’t just stuff some tights with paper towels. The legs need a little bit of shape. So I used this tutorial. The only thing I did differently is after I formed the legs with chicken wire, I pinned some fabric around them instead of paper mache. It was faster and easier. Then I put the tights on and secured them to the frame with duct tape.
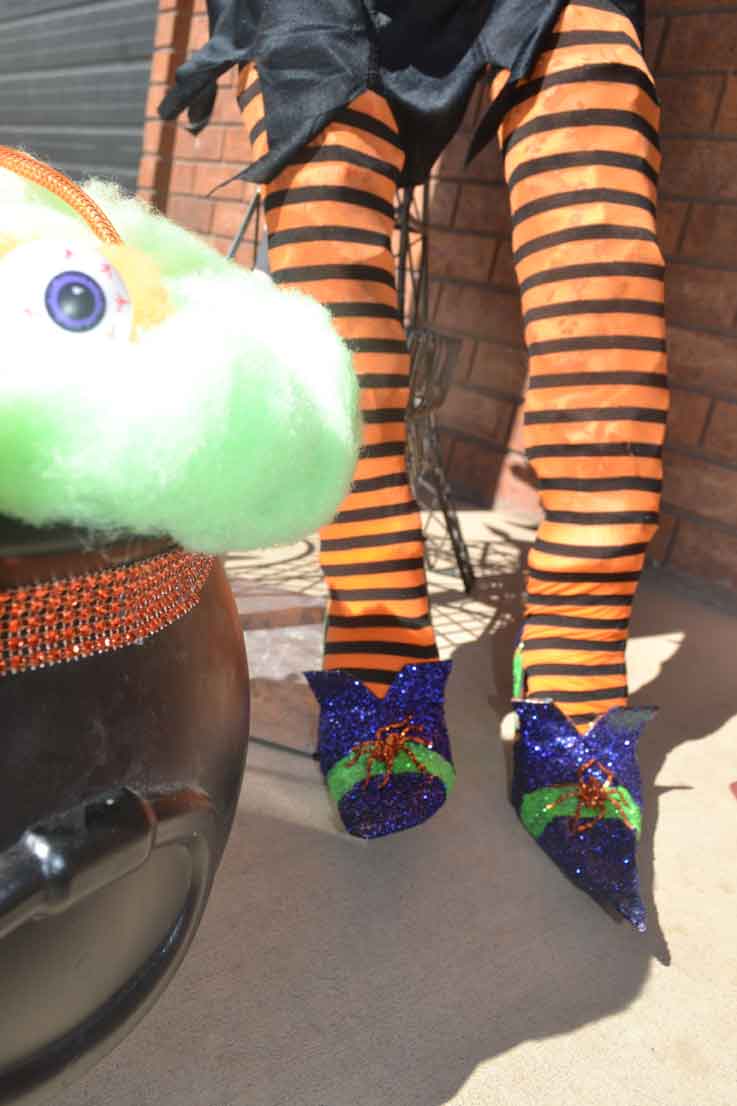
As for the witch shoes, I made some the other day and you can find the full tutorial here.

#4 Finishing touches
Now that your witch frame is done, put some clothes on her and add some finishing touches. Here’s some ideas:
- Witch dress: I would recommend finding a dress that has a large neck and isn’t too tight.
- Black hat: I decorated an old black witch hat with feathers and eyeballs.
- Cafe table: I also set up a table for her customers with a skeleton and menu items.
- Cauldron: You can also buy a black cauldron and fill it with green and orange artificial spiderwebs and eyeballs.
- Cafe sign: I created a Witch’s brew cafe- FREE PRINTABLE for my witch’s cafe and attached it to a garden stake wrapped in Halloween ribbon. It was so cute!

Here’s what my life size Halloween witch porch display ended up looking like. So, I was pretty happy with the results. Now we can enjoy it all season long!
