Despite what my children may think, they CANNOT sit around, watch Minecraft videos and eat junk food all day. It’s not happening. So, as a mother, there’s something nice about making the chore chart the bad guy instead of yourself. And these FREE printable chore charts will do the trick.
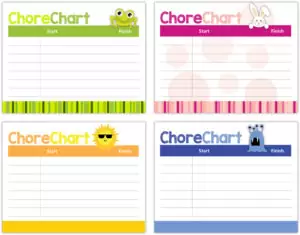
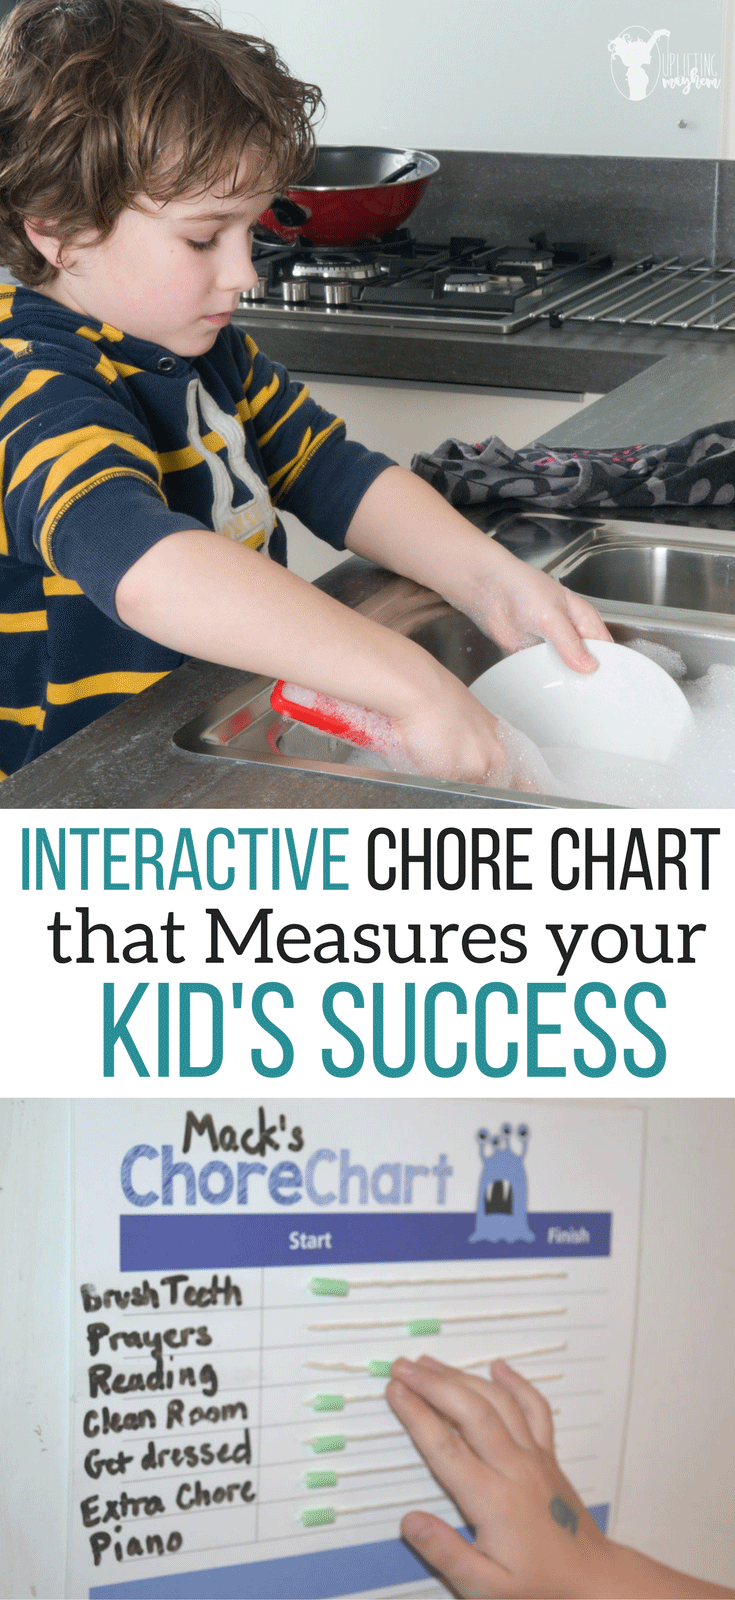
What I like most about these chore charts is that they are customizable and simple. Since you write on the chart with a dry erase marker, you can simply change the assigned chores to your liking. And it’s easy for your kids to slide the marker to the “Finish” spot once they are done with each chore. No stickers or searching for a pen.
I like to check their work, and if they aren’t quite done, I tell them to go move their chore chart slide half way. I praise them for
So let’s get started.
Print your chore charts
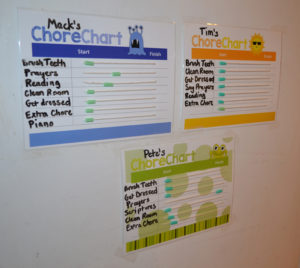
Choose from the chore charts listed below and email the PDF to your local copy store. I printed and laminated three chore charts on 8.5×11 cardstock. It only cost $4!
Blue Monster Chart – FREE printable
Green Froggy Chart – FREE printable
Orange Sun Chart – FREE printable
Pink Bunny Chart – FREE printable
Assemble your chore charts
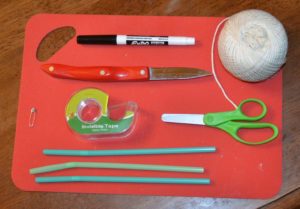
These charts are relatively simple to assemble, they just take a little bit of time. You’ll need some
- string or ribbon
- straws or beads
- tape
- scissors
- knife
- small safety pin
- cutting board
- and a dry erase marker.
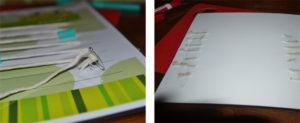
Start by using a sharp kitchen knife and poking tiny holes in each row right below the word “Start”. Then do the same thing below the word finish. Measure and cut seven pieces of string that are slightly longer than the length between the words “Start” and “Finish”. Tie a knot at the end of one of the pieces of string and push the safety pin through the knot. Feed the closed safety pin (with the string attached), through the first “Start” hole. Detach the string from the pin and tape the string down to the back of the chart. Cut a small 1/2 inch piece off the straw and thread it onto the string. Feed the other end of the string through the “Finish” hole and then repeat this process for the rest of the pieces of string.
Basically, just look at the picture at the top of this blog post and it’s pretty self-explanatory.
Write the chores and enjoy!
Now you’re pretty much done. Use the dry erase marker to write the name of your child at the top and then their subsequent chores. I kind of had a fat tip on my dry erase marker, so you might want to use one with a fine tip. It did the trick though. Hang your chore chart in a prominent place in your home. Now enjoy!
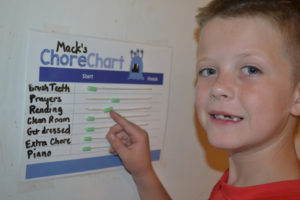
These chore charts are easy to make and can last forever, even as your child gets bigger and their chores change. I made one for my three oldest boys. They love them and it gets them excited to do their chores.
I hope these charts work for your kids. Let me know if they do in the comments below.
Related article: Kids Room Cleaning Chart!
TO SAVE THIS FOR LATER you can use this image to pin it on Pinterest
